

This do-it-yourself version of a store bought favorite is simple and requires minimal supplies. There are many different recipes out there! But I have chosen the easy-peasy route and found it works just fine!
Time commitment: less than 30 minutes
Skill level: beginner (no sewing required!)
BEESWAX WRAPS
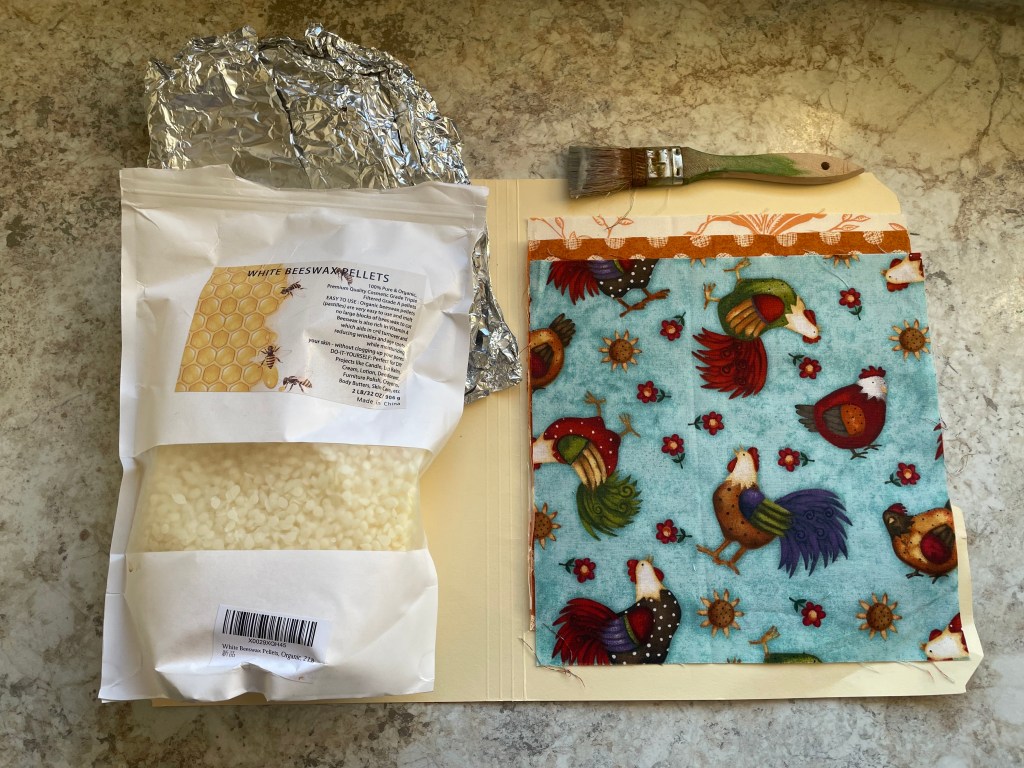
Materials needed:
- 100% cotton fabric pieces (mine are 10” square)- darker is usually better
- beeswax pellets
- foil and lipped cookie sheet
- bristled paint brush
- wax paper (or pasta drying rack!)
- scissors
Instructions:
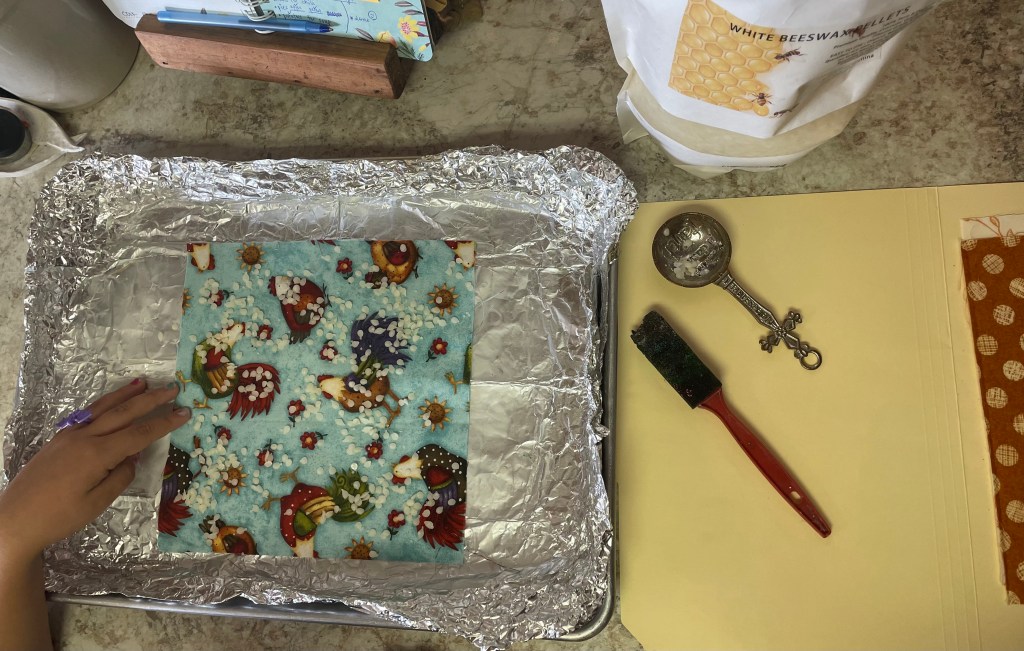
- Fit your foil so that no pan shows through- you don’t want wax on your cookie sheet.
- Place fabric on pan. Put approximately 1 Tbsp on wax pellets onto your fabric (more if it’s larger).
- Melt wax about 2 minutes at 350*.
- Pull pan from oven and brush wax evenly over the fabric with paintbrush.
- Quickly lift it and fan back and forth for a few seconds.
- Place onto wax paper (it will stick, but will easily come off once cooled).
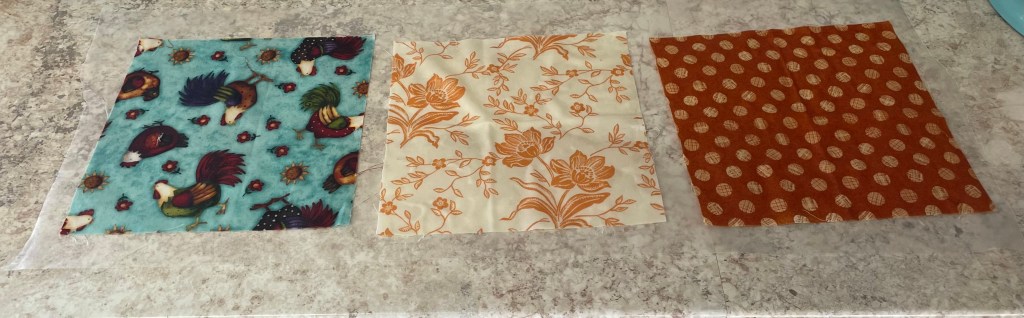
Alternatively, you could hang the wax covered fabric on a pasta rack to cool. Once cooled (after only a few minutes), trim edges.
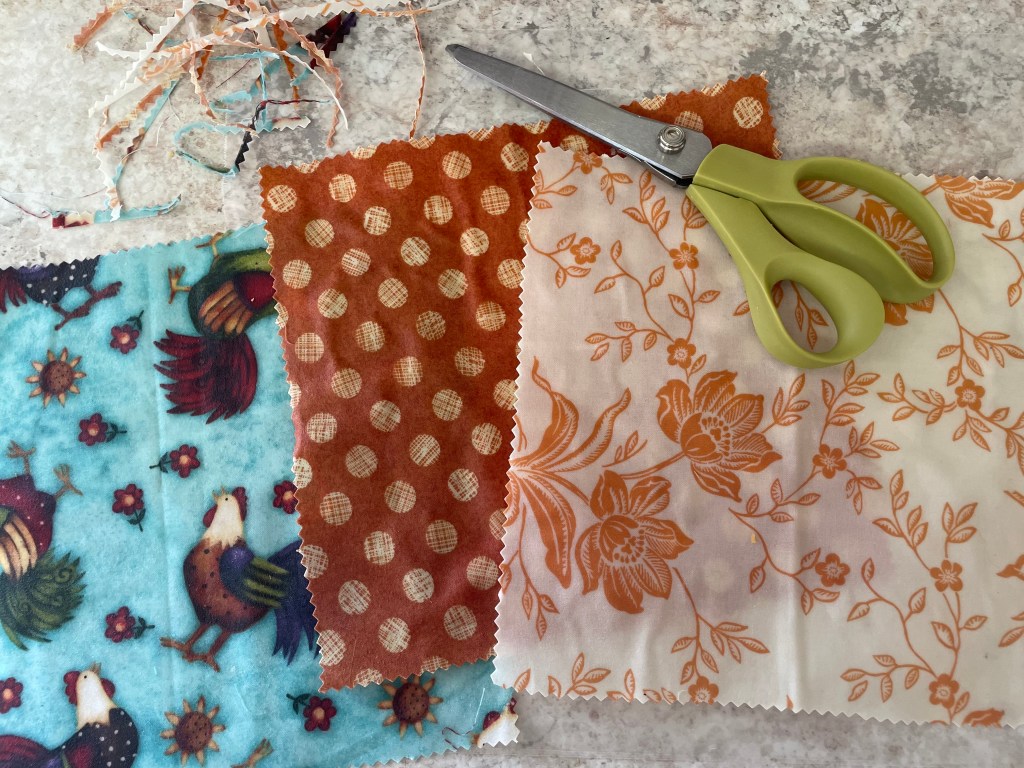
I used a pair of zig zag sheers but you don’t have to. Fold up several wraps together and make a cute packet!
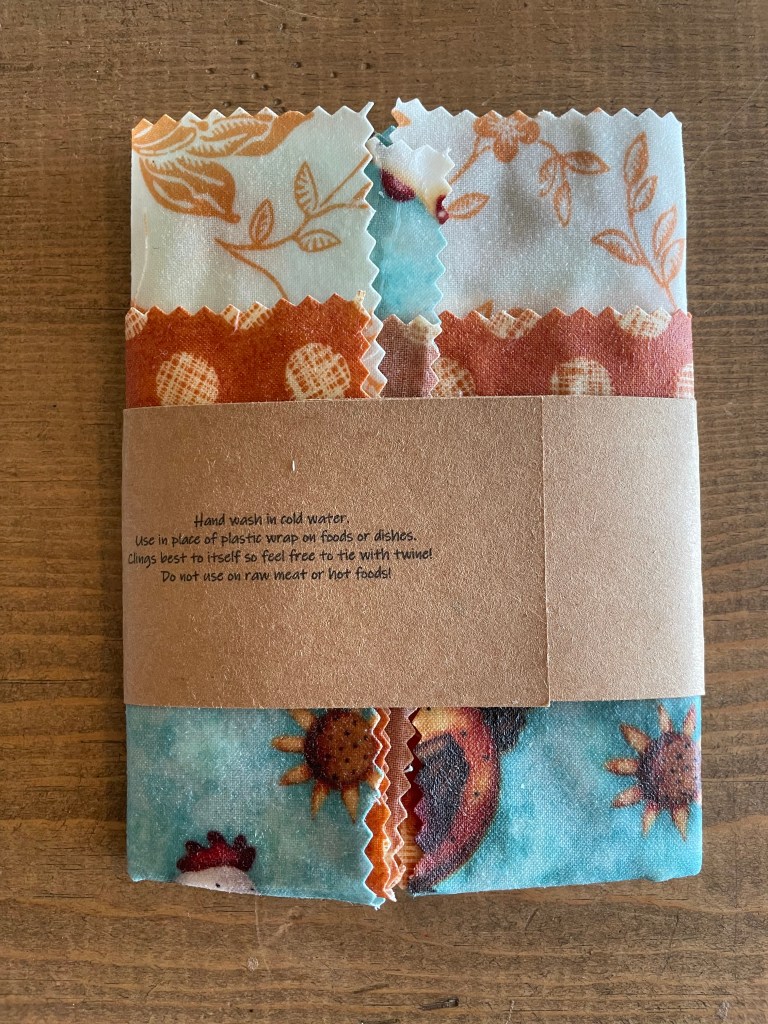
Include a label so people know how to use the wraps! (See above for instructions to follow).

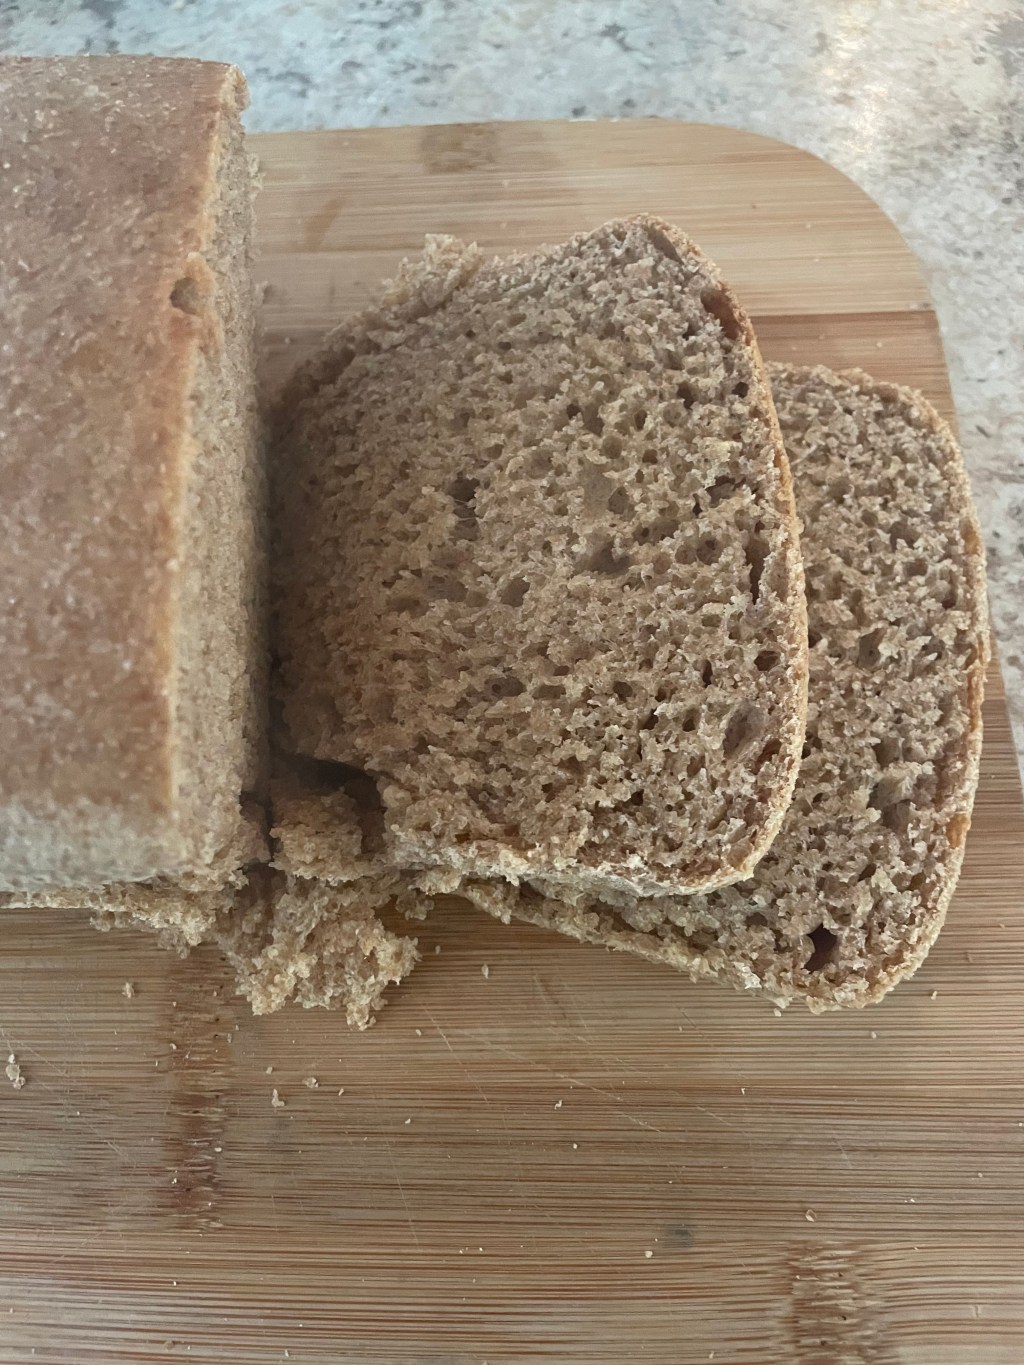
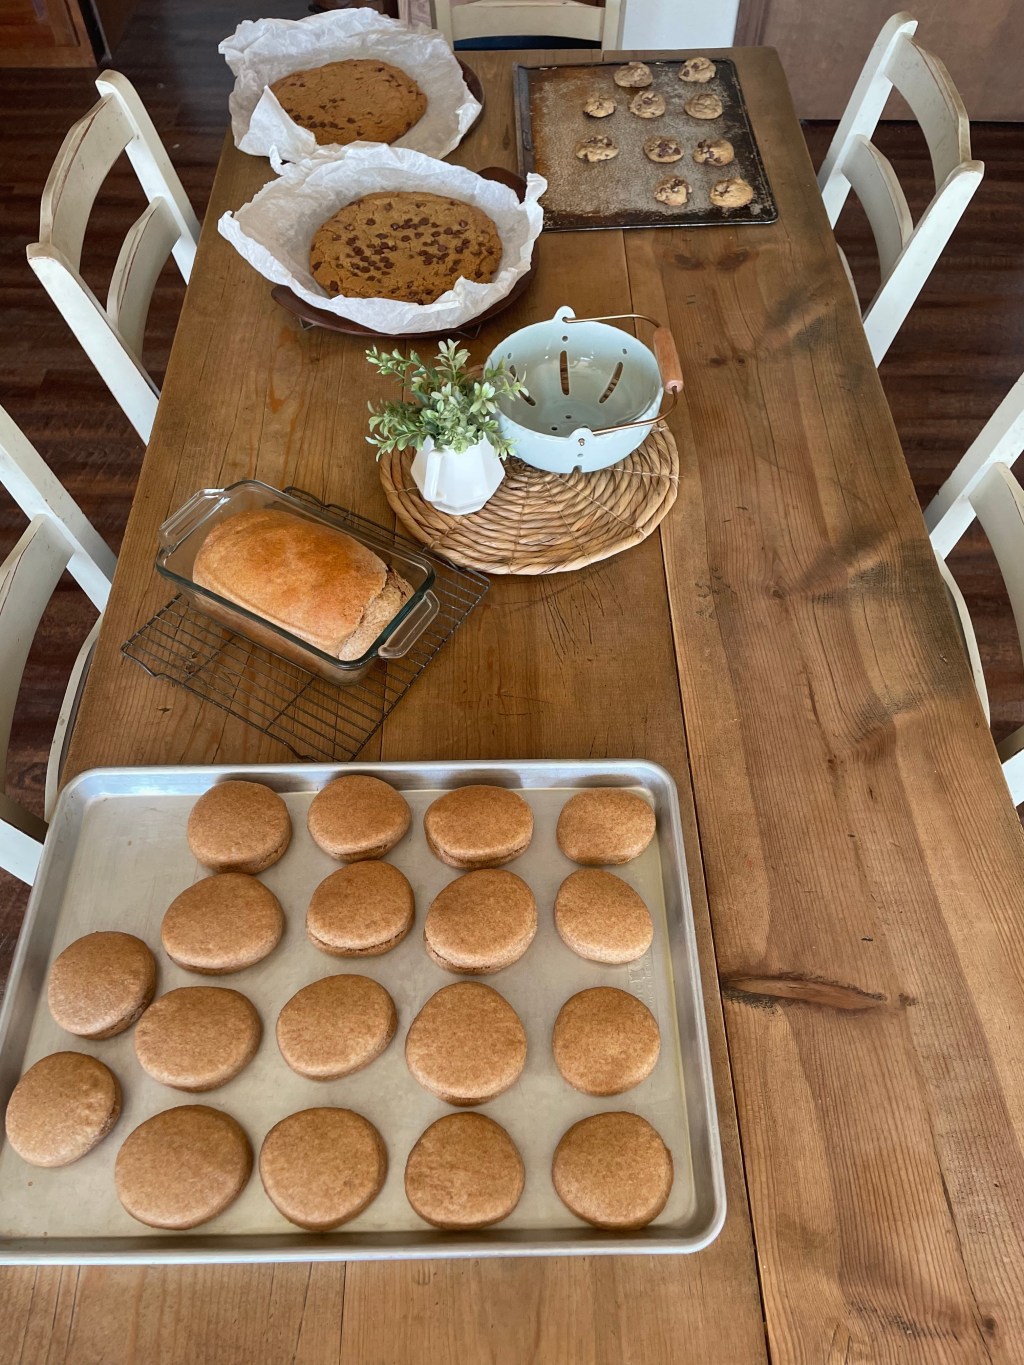
Here you are! This size (10” square) fits a tortilla wrap or small yeast roll sandwiches nicely. You may want to make a larger square or rectangle larger for other breads. We also use smaller versions for brownies and bars! What a fun handmade Christmas gift!
Let me know how they work for you!


Leave a reply to Lani Jones Cancel reply