
Beginning a new series, I am going to try and cover some ‘Preserving’ methods that I use in our home as the garden progresses. There are so many different types of preserving and I don’t, nor can, use them all. But, as I harvest things from our garden, I hope to give a little useful information that may boost your spirits as you stock your pantry!
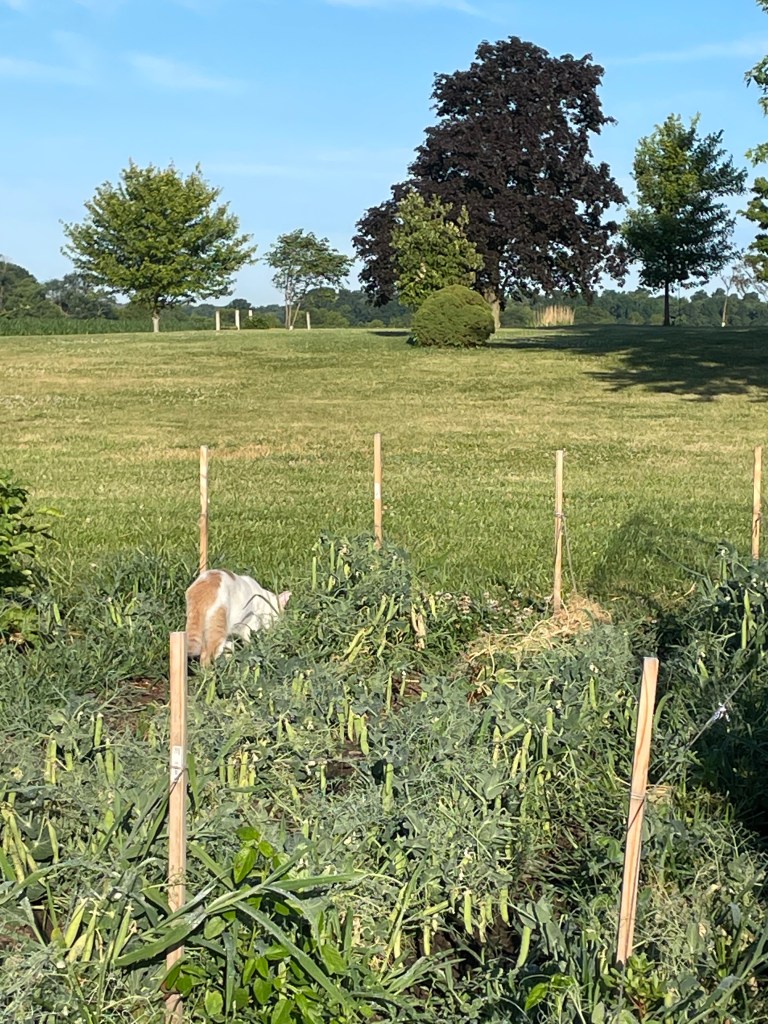
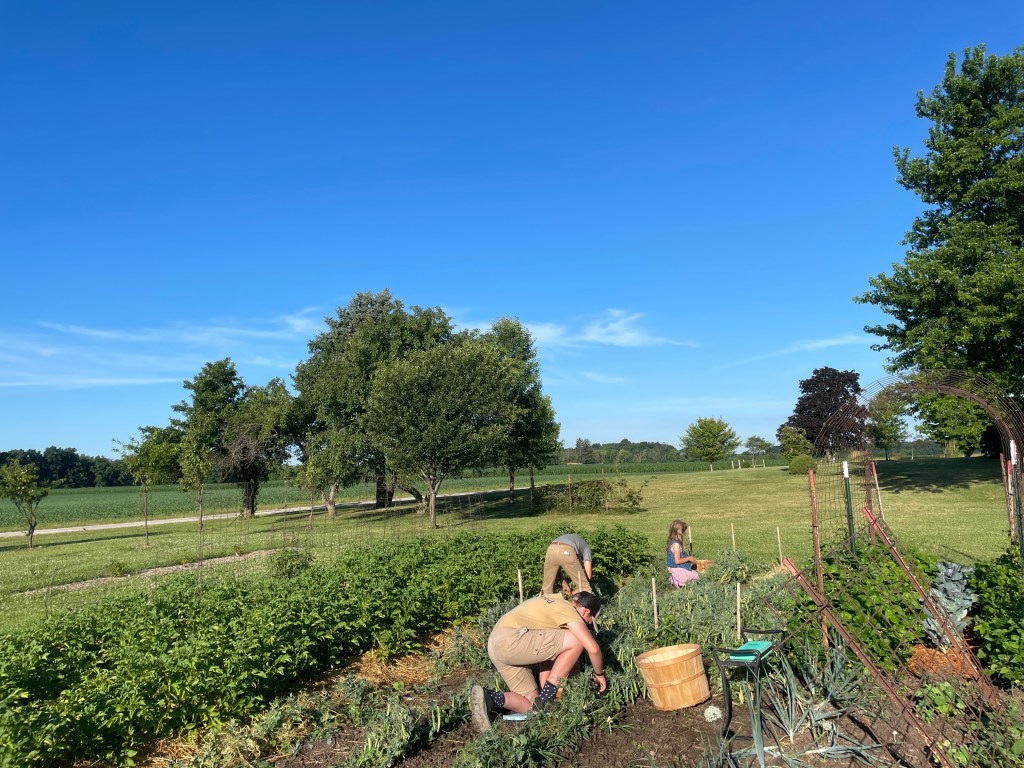
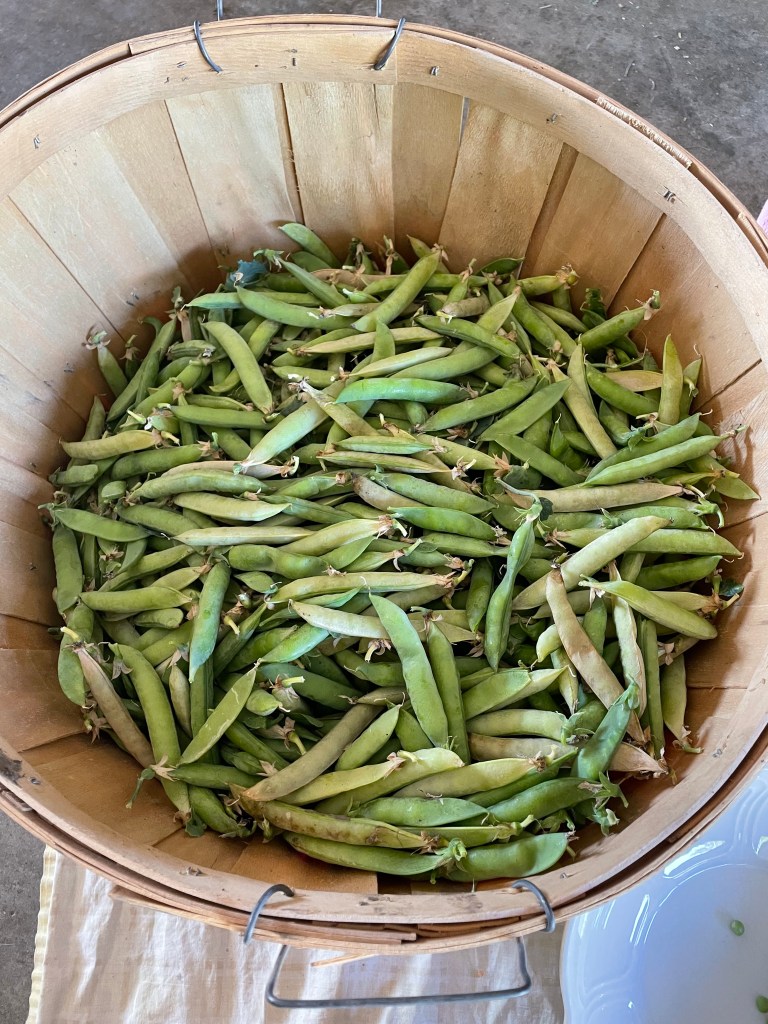
Our shell peas were ready for harvest yesterday morning. And so, setting the lovely list of things I had planned to do aside, the kids and I grabbed baskets and knee pads/seats, and headed out to the garden. I worked with the warming sun at my back and it wasn’t too hot! Our ever attentive cat joined us.
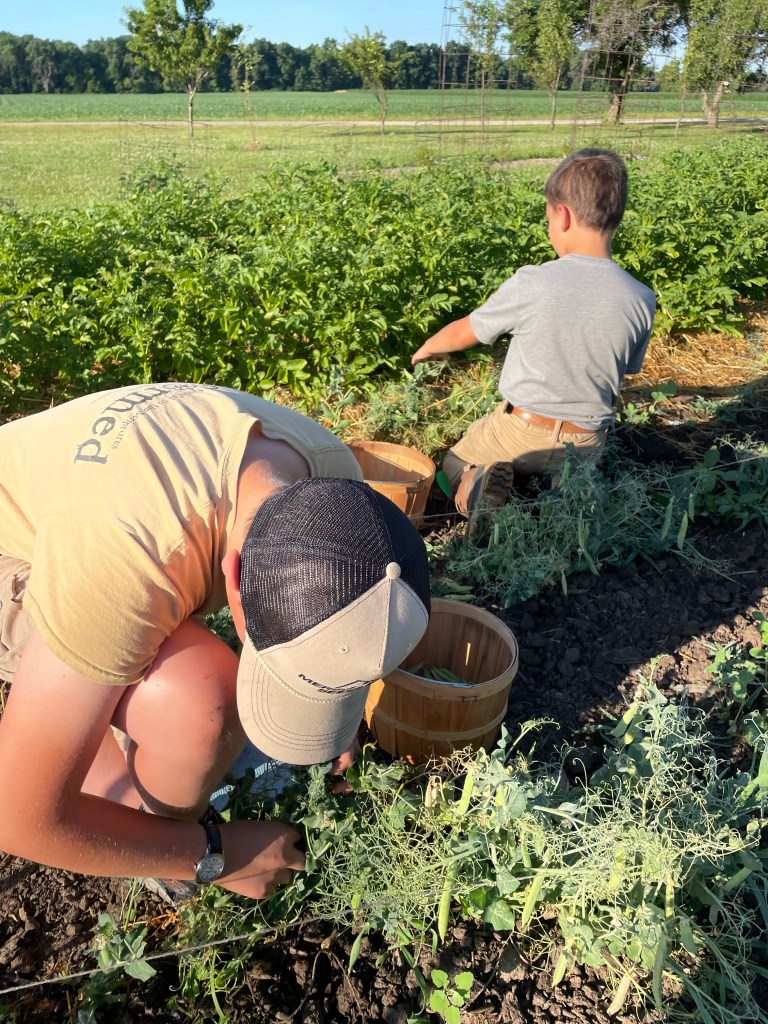
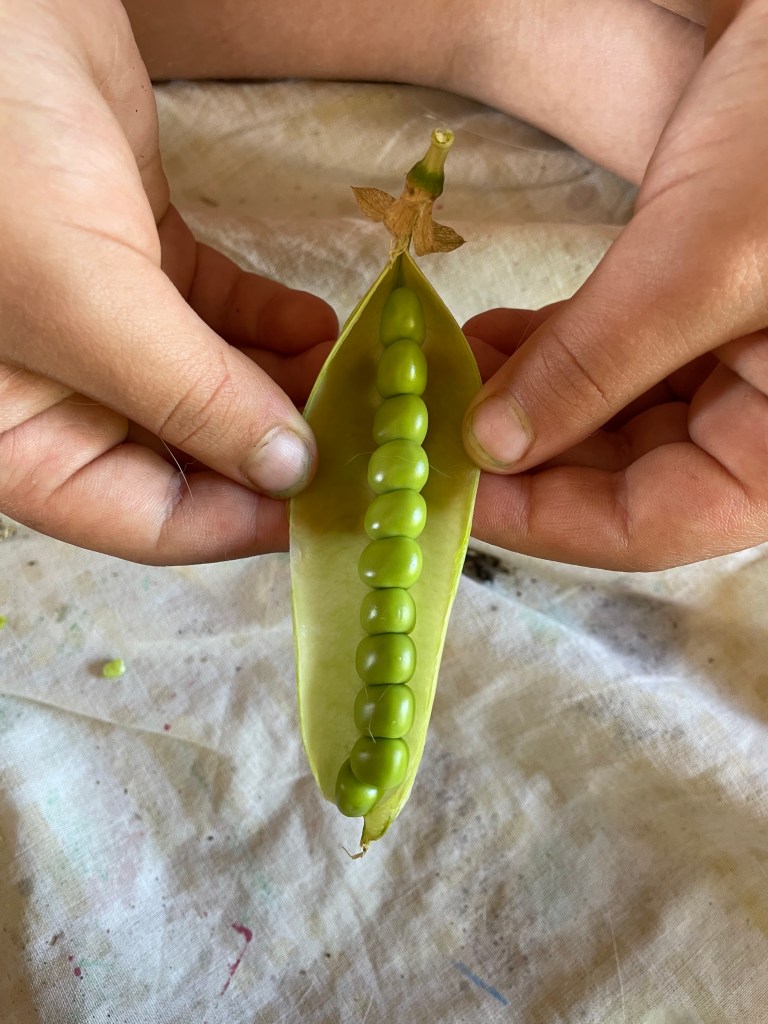
The boys were very good help. My youngest little girl was not as enthused, though she did like shelling the peas.
I always want to sing as we work, as my great aunt talked of doing as a little girl picking cotton. But alas, I generally don’t have the lungs for it!
We brought the shell peas into the garage, where it was cooler, and laid out an old tablecloth to use for our base. I didn’t weigh the peas ahead of time, but the shells made a great addition to the compost pile.
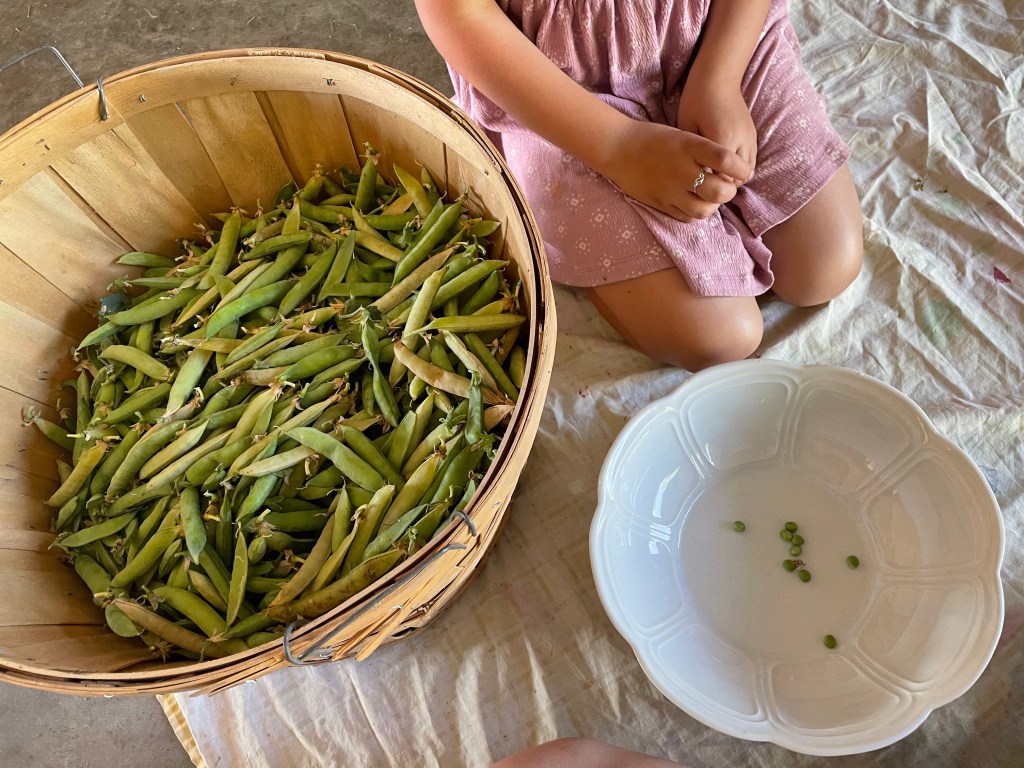
My daughter and I began shelling the peas while my sons walked beans. (Here in the Midwest this is a common practice, meaning they just walk the rows and hoe out any weeds. My Sweet Husband gave them a specific area to attend to).

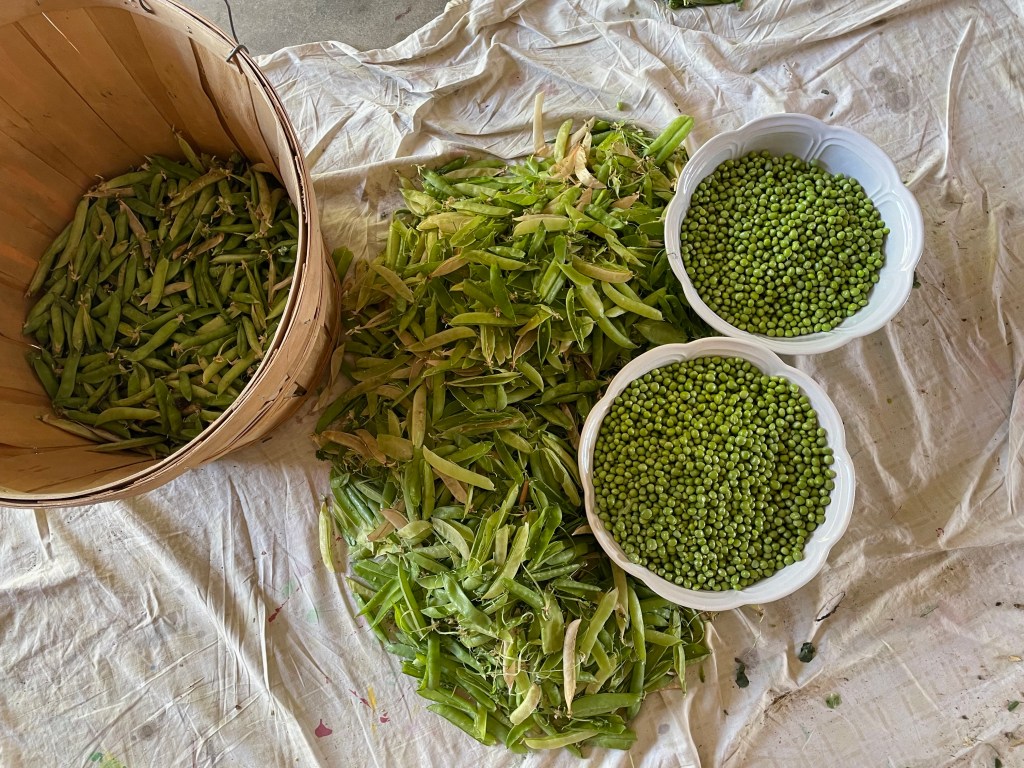
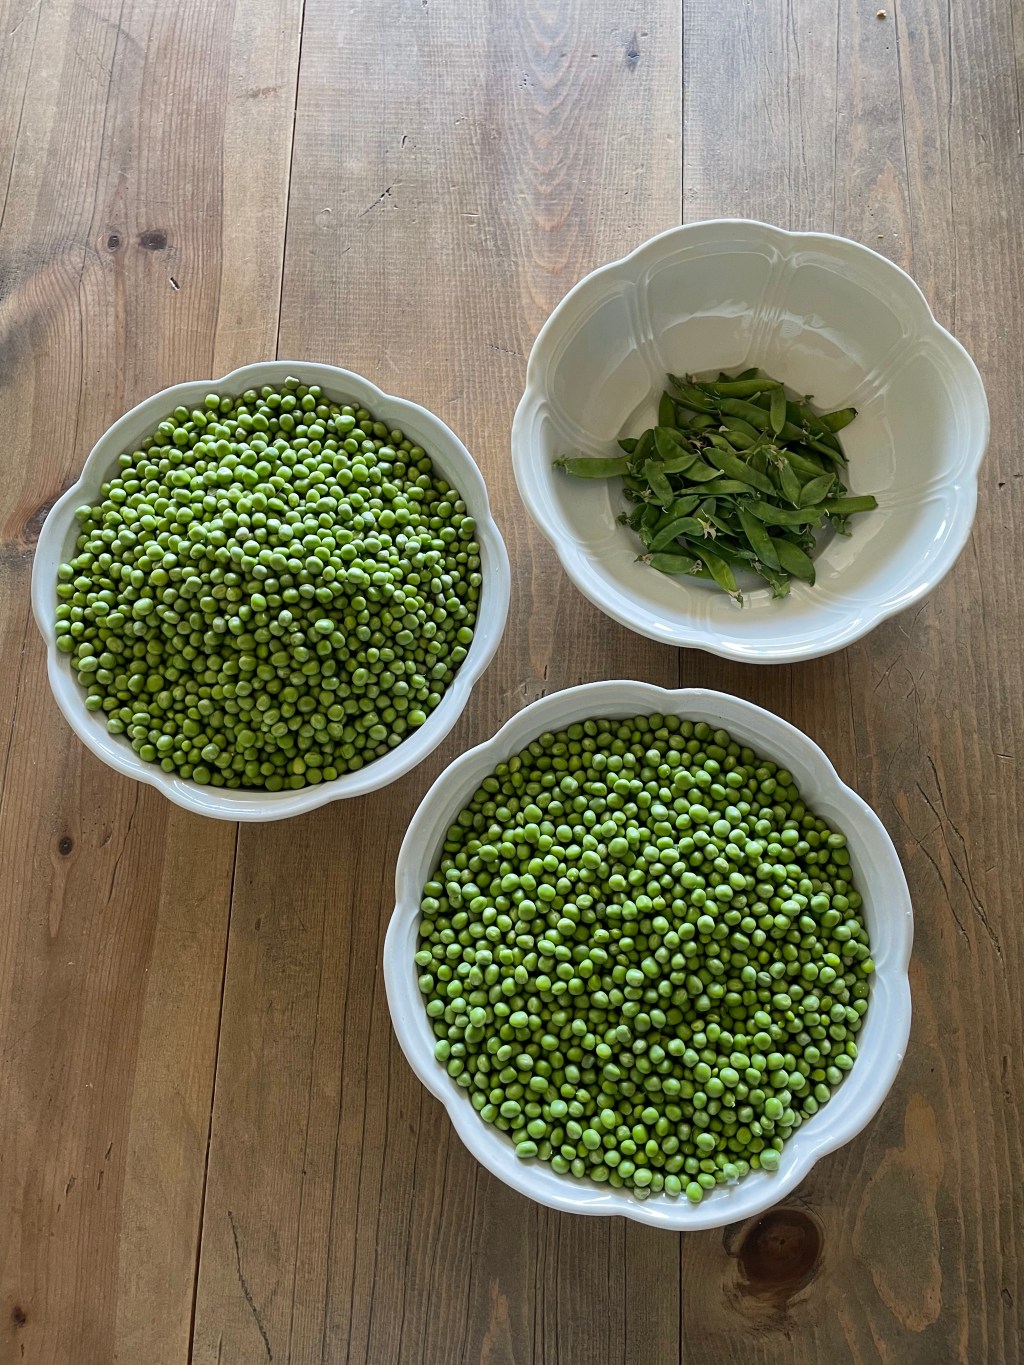
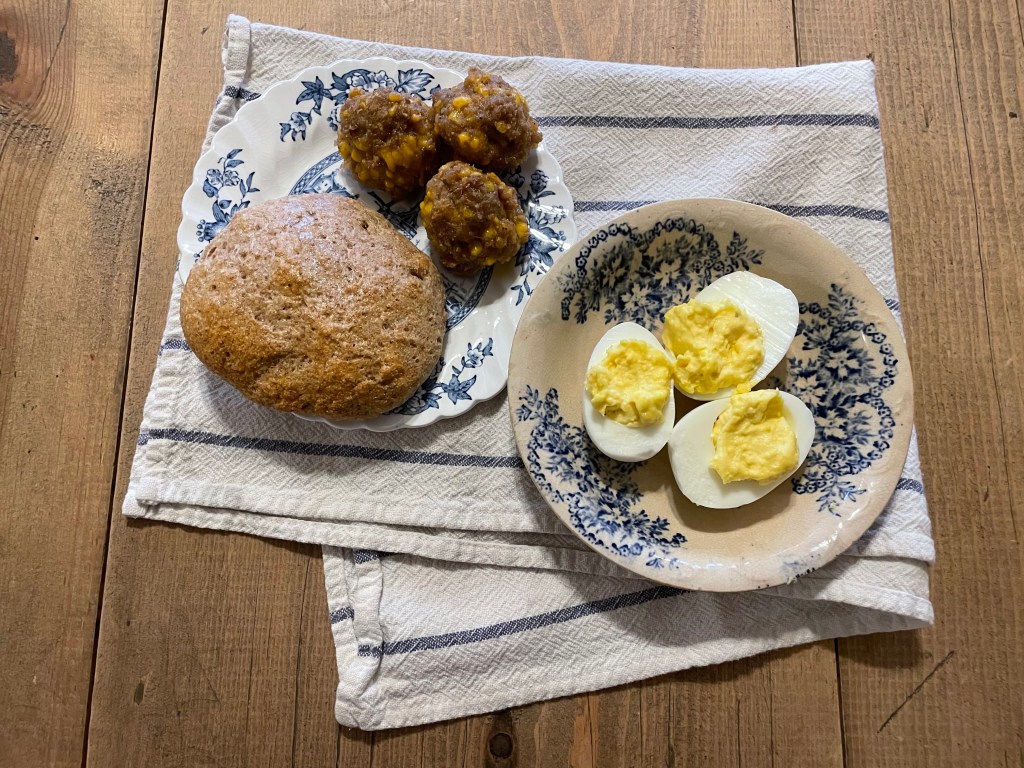
When my sons returned, we began listening to an audio theatre of The Legend of Robin Hood. We love those types of audio entertainment. It took us about an hour and a half to pick the peas; and about 3 hours to shell them. We had a handful of peas that were not fully matured that I saved for stir fry this week (see top photo!).
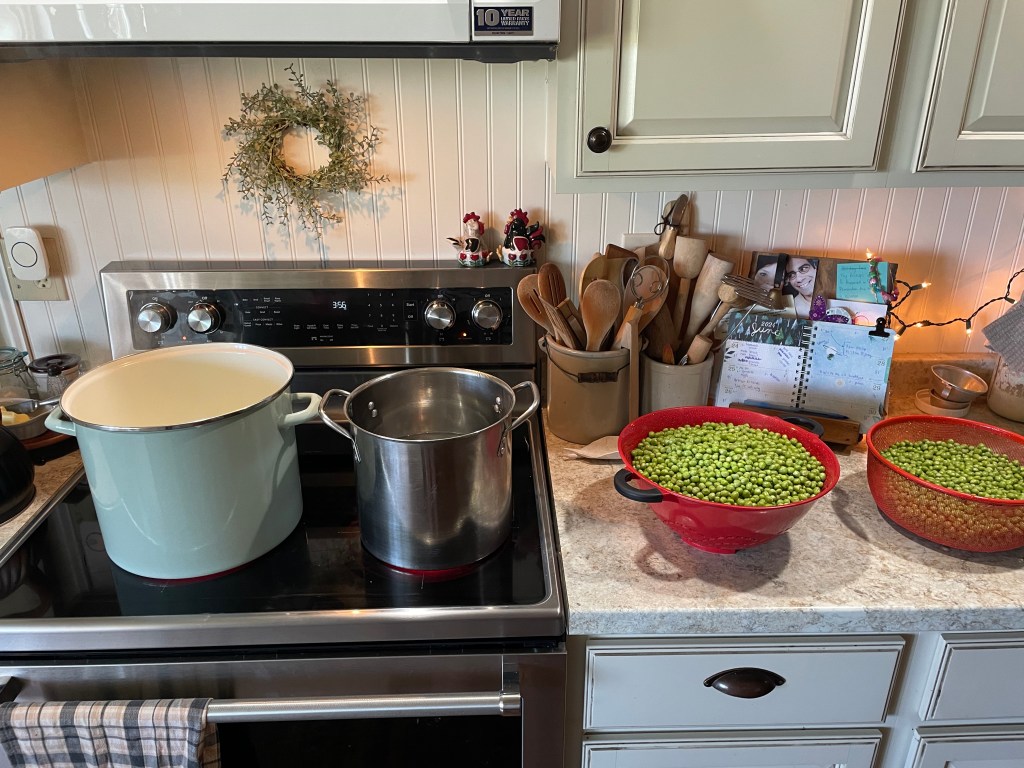
Once the peas were shelled, I washed them in the sink with cold water, using these colanders. In order to freeze peas, you must blanche them first. This not only helps in cooking them later, it also aids in killing anything ahead of time that may be present. Peas are very clean veggies to process, but some others are not and blanching is very beneficial. I blanched each batch for 1.5 minutes. Once the timer went off (always use your timer!), I poured them/set them into ice water to stop the cooking process.

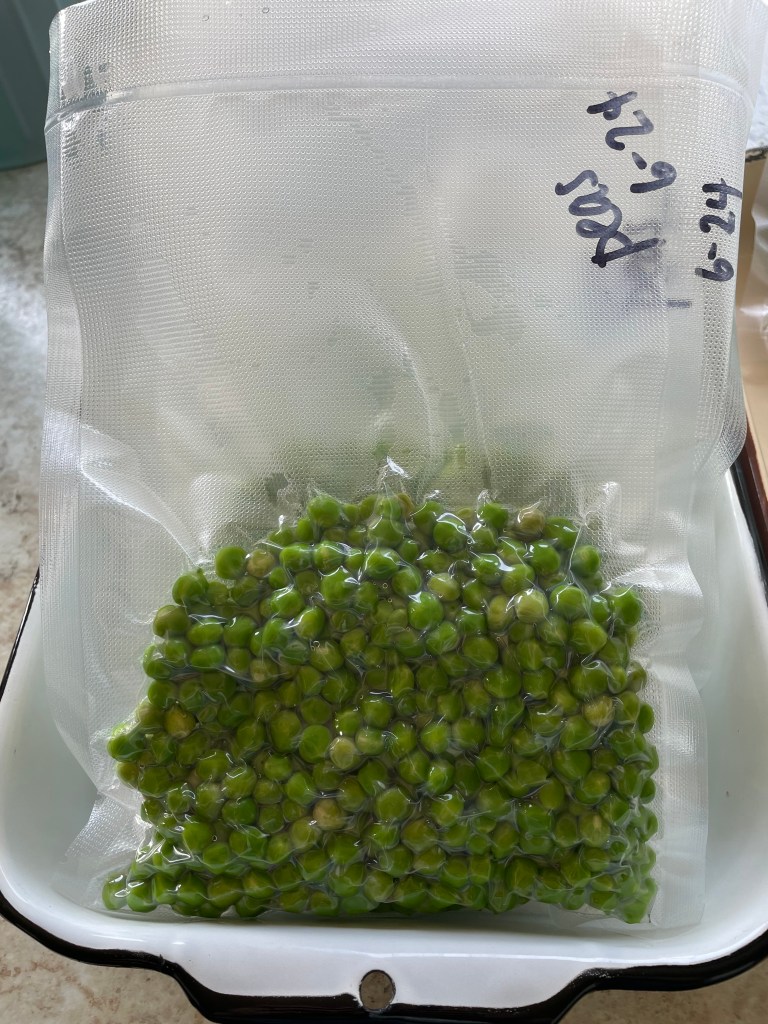
I ran out of time and energy to process them for freezing last evening, so I put them into the fridge overnight. This morning, I began setting things up with my vacuum sealer, measuring cups, and marker. (Note: as I have mentioned in the past, you want to get your fresh produce into the freezer as soon as possible to preserve its nutrition!)
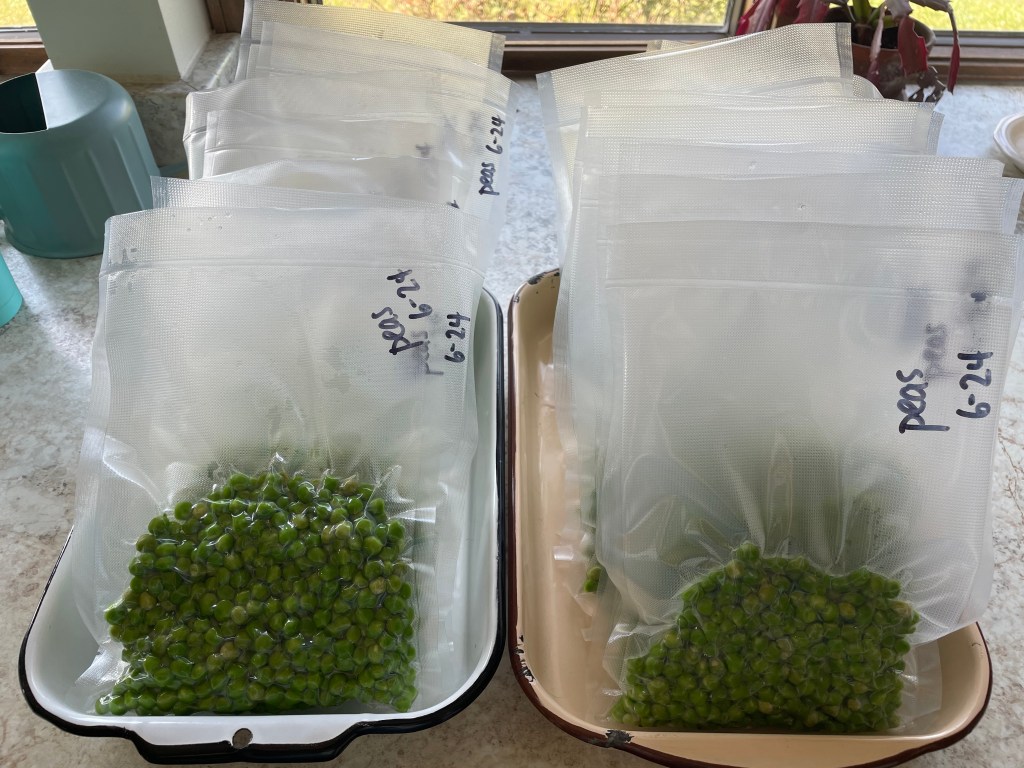
We ended up with 20 vacuum sealed bags of peas, 10 ounces per bag. This is only 4 bags more than last year, so I was a little disappointed in our yield. Always many factors – the hail, weeds, or the stand we got. But, we continue to learn and grow in our endeavors. Praising God for this provision!
Our favorite way to eat peas is roasted! We also put them into soups, stews, and pot pies during the winter! Here is our go-to recipe:
Roasted Peas
- 1 bag of frozen peas (10 ounce)
- 2-3 cloves of garlic, minced
- 2 Tbsp. butter (I have used bacon grease also! But butter is our favorite.)
- salt and pepper to taste
Preheat oven to 400*. Place peas in square baking pan. Top with garlic, S and P, and butter pats. Let roast in oven for 30 minutes. We serve this as a side often! We even have it with our ‘breakfast for supper’ meals and it is so complimentary.
Happy Preserving!


Leave a reply to Dusty Cancel reply