
If someone were to ask you your favorite vegetable, what would it be? And, yes, you have to pick a favorite. 🙂 Would that choice be raw? Steamed? Roasted? Covered in cheese? If you ask my six year old, she would tell you that her favorite is raw sauerkraut! What?! Yes! We eat raw sauerkraut at least once per day and sometimes twice.
I won’t go into all of my views on the benefits of ferments in this post, but look for one to come. Raw sauerkraut isn’t what you are thinking of if yours is cooked or canned. Raw means it hasn’t had any processing. And, in order for this to be more than just cabbage, it must be fermented.
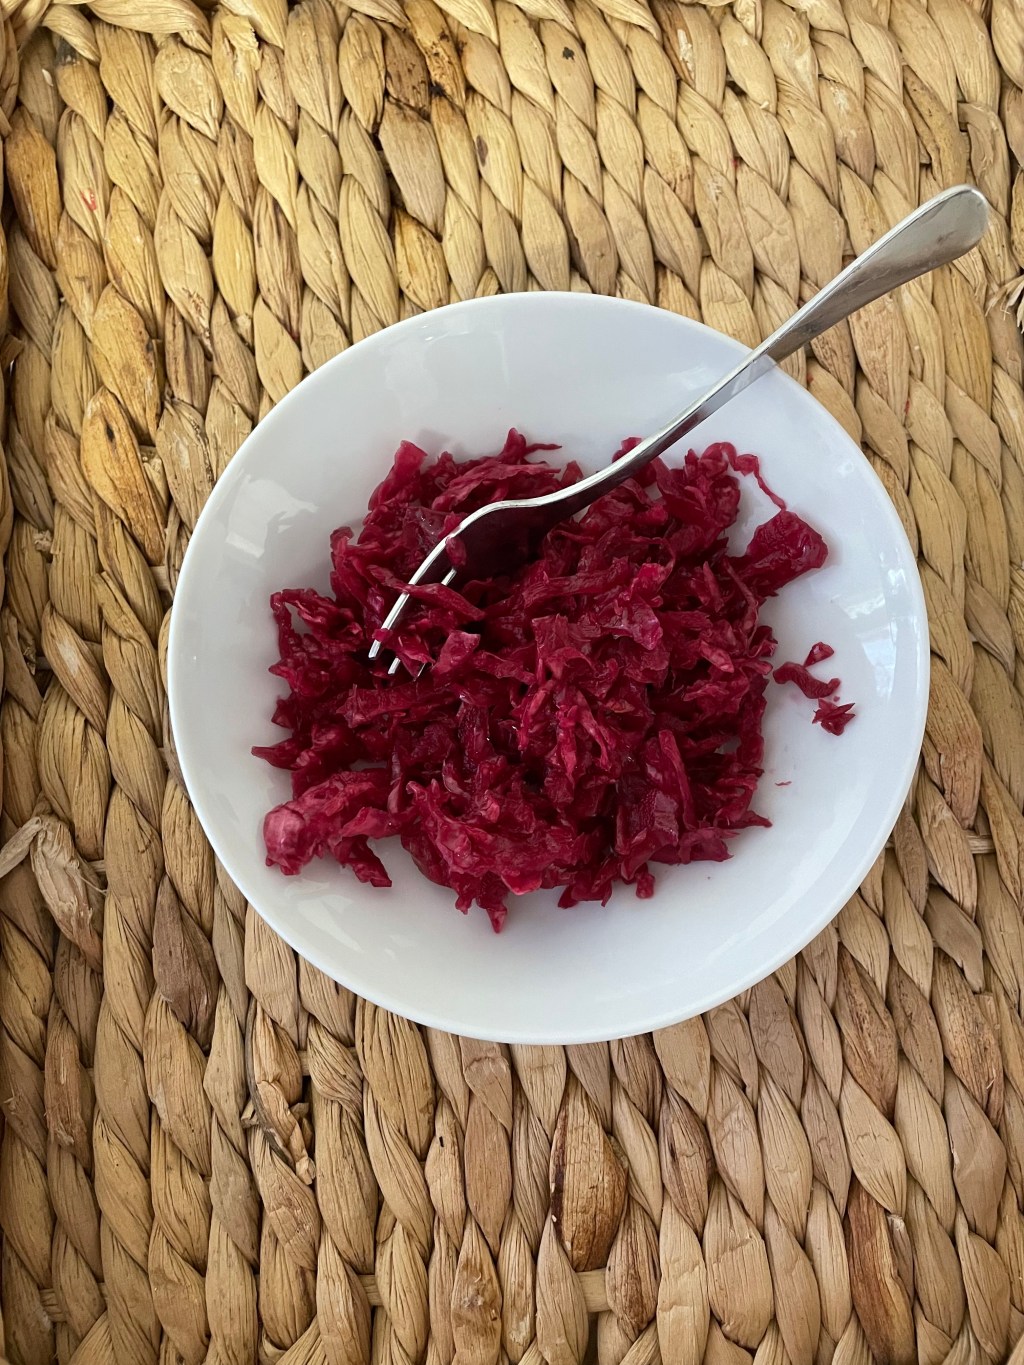
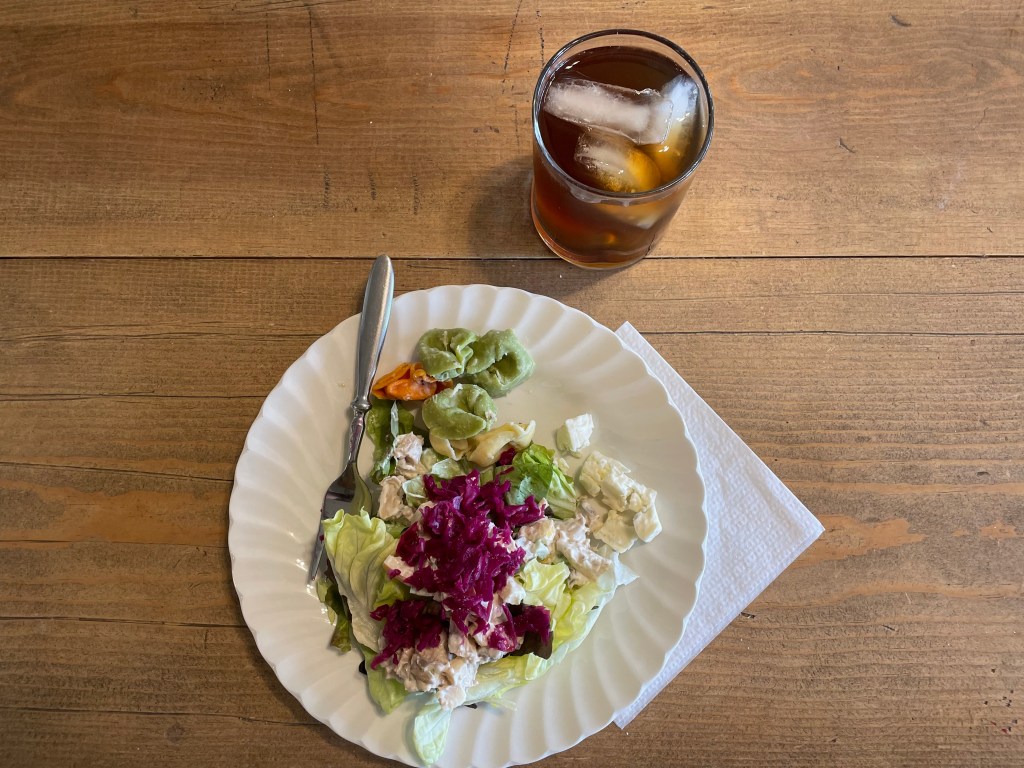
Here is my short how to on raw sauerkraut. I hope you find it helpful and delicious! Add it to your salad(see photo below); eat it with a BBQ sandwich; or just add it as a side when you need that fresh something on your plate. To enjoy the health benefits, don’t heat or cook it.
How To Make Raw Sauerkraut:
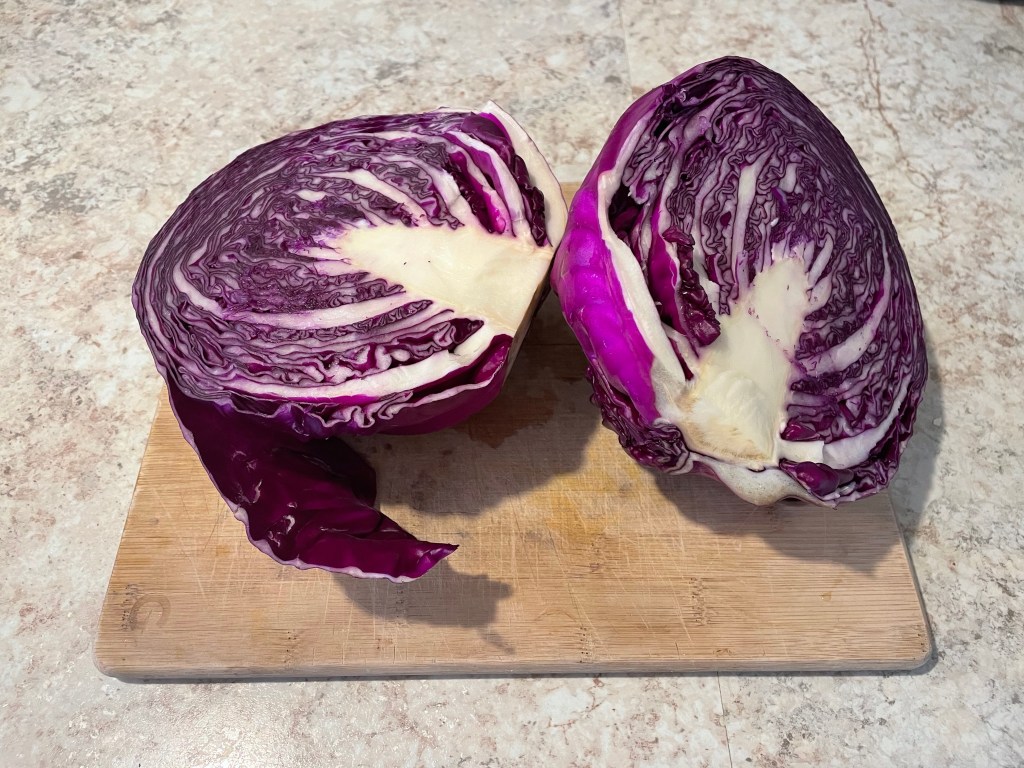
- Wash and strip one head of cabbage of its tough, outer leaves(our favorite is red cabbage because it tends to stay crisp longer). Save the outer leaves as you may use them at the end!
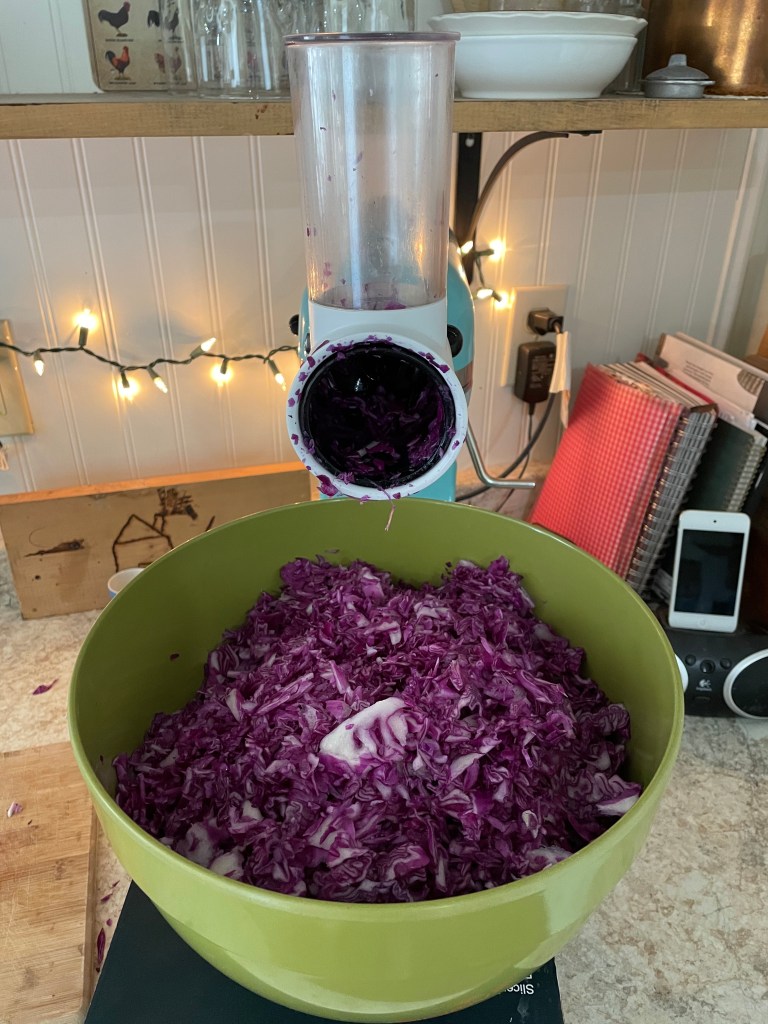
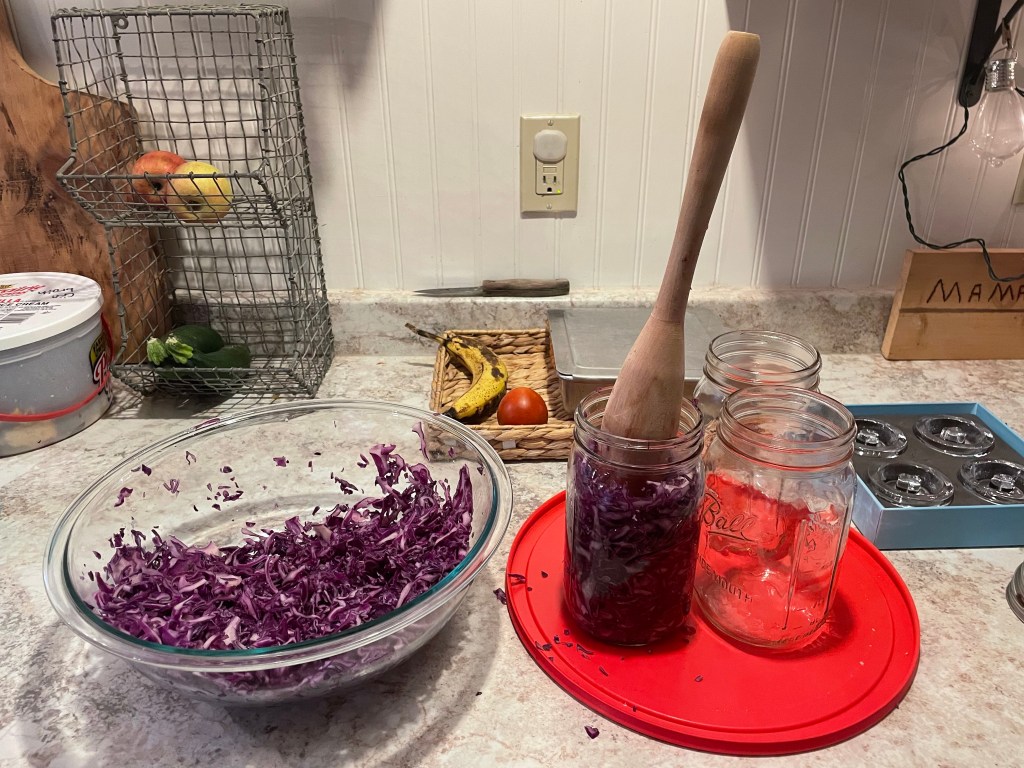
- Chop or shred cabbage. I use our shred attachment on my Kitchen Aid mixer (aka my kitchen tractor). You may like yours chopped coarsely with a knife, or finely shredded with a food processor.
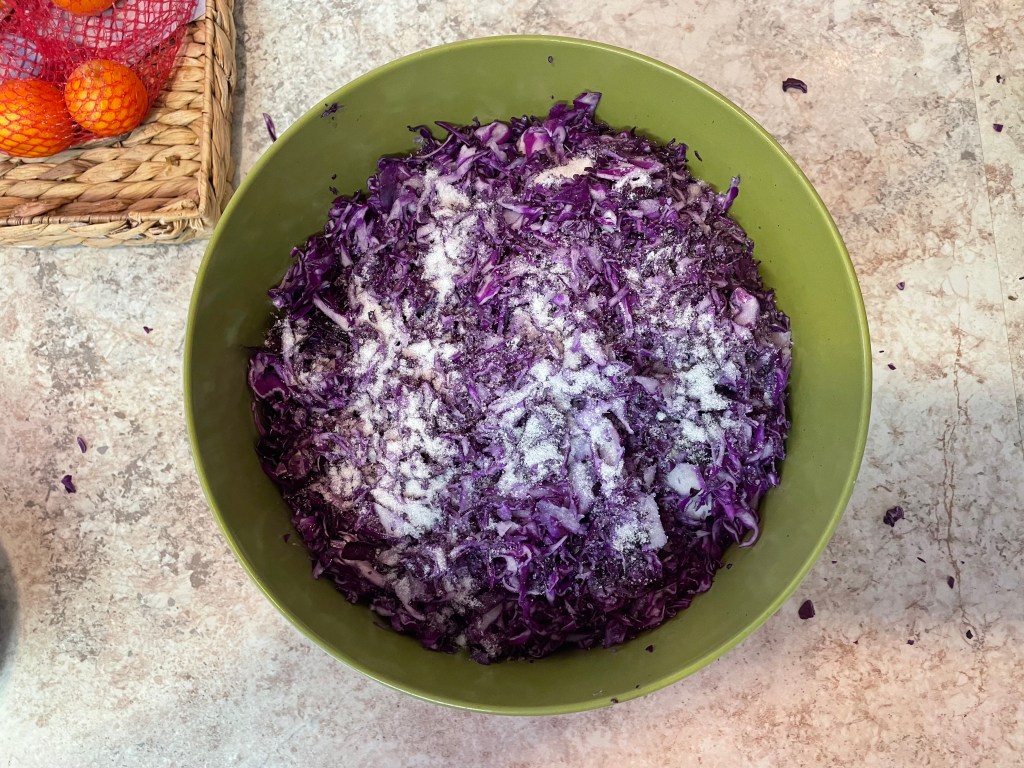
- In large bowl of the shredded cabbage, add approximately 1 Tablespoon of good quality salt per medium head of cabbage (not table salt). I use sea salt. Redman’s Real Salt is also an excellent choice. Stir or squish with your hands to mix. The salt brings out the juices of the cabbage. It is also how your cabbage will properly ferment.
- Let sit on the counter for several hours, covering the bowl with a tea towel.
- Stuff the salted cabbage into wide mouthed canning jars. NOTE: if you do not have a wooden pounder/packer, use the bottom of a half pint, regular mouth canning jar to squash the shredded cabbage into the jars. Pack it tightly. You want the juices to come out of the cabbage and cover itself.
- You will want to leave room at the top of your jar for either a glass fermenting weight or a leftover clean outer leaf of the cabbage to hold the shreds underneath the juices (brine) you’ve created.
- Press the juices until they cover the cabbage. Do not let any shreds come above the brine or they could mold. If you are unfamiliar with kraut you may want to make yourself a smaller container as a testing jar to taste after a few days. Same rules apply with keeping shreds below the brine!
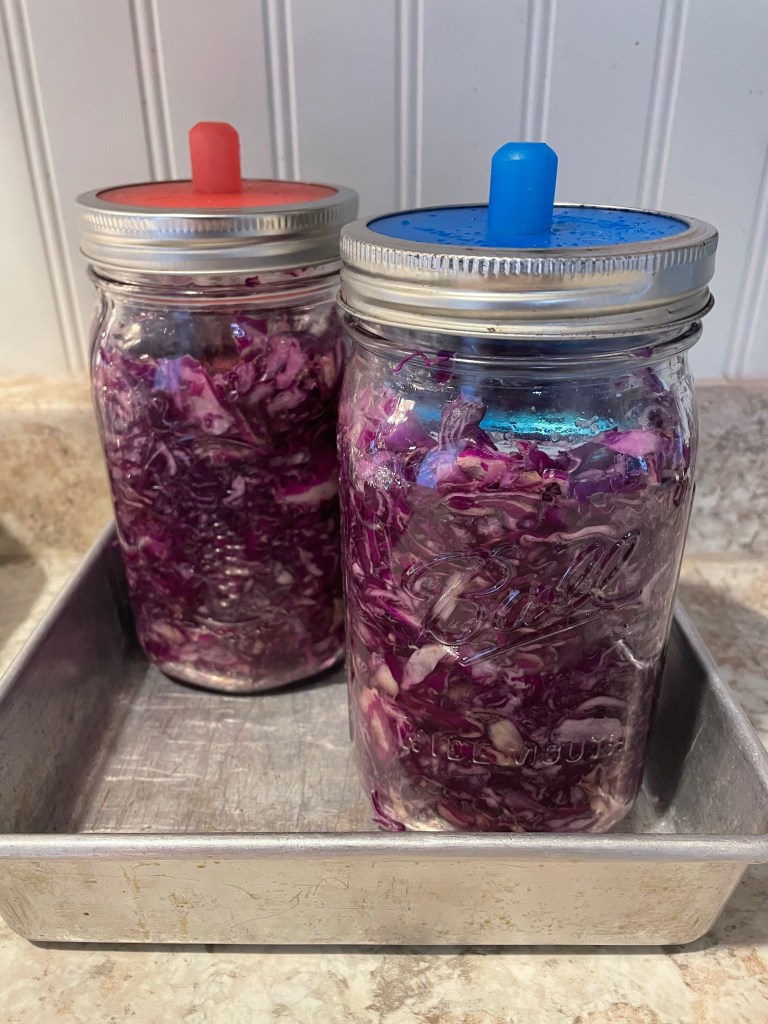
- Place your fermenting lids OR a plastic lid on the jars. Do not tighten firmly. Ferments need to breathe. If you do not have the ‘burping’ style lids, just unscrew/screw your lids 1-2 times per day.
- Place jars into a cake pan so that any liquid that releases has somewhere to go. Ferments will often ‘grow’, pushing air and some of their brine out of the container.
- Set aside in a place at room temperature; not in direct sunlight. The warmer your home is, the quicker things ferment. Watch to be sure the shreds are staying below the liquid. Check your kraut after 4 days to see if it is sour enough for you. Some people leave theirs for weeks! For our preference, about 6 days is perfect.
- Take weights out of the jars, place plastic lids on jars, and put the jars into the fridge.
- Your kraut will last for months, if not a year in the fridge. Yes, I am serious! ENJOY!
Is this ‘how to’ easy to follow?
I think you will grow to love this fermented goodness. Please give it a try. Once you have made it a few times, start experimenting by adding caraway seed, carrot shreds, etc. There are many versions!


Leave a reply to Dusty Cancel reply