
So many fun things can be made at home versus buying at the store… and depending on what item you are talking about, it can be a very small amount of ‘hands on’ time for you in the kitchen.
I began making our own yogurt a couple of years ago right after Christmas. My sister gave me a book about all things DIY pantry. I went straight to the yogurt page and started right off. Since then, I have learned a few things that I’ll share with you! Maybe my small amount of experience and ‘trial and error’ can help you to skip right to creamy, delicious yogurt the first time!
- Start with your milk. Raw or pasteurized- do not use ultra-pasteurized. It won’t result in anything very good to eat. It’s already been heated too high. Raw milk may take a bit more work deciding your technique etc. Some raw milk (ex. goat’s milk) creates a more drinkable yogurt. Think ‘go-gurt’.
- Decide how much yogurt you’d like to make. How much your family eats regularly. It will last for several weeks in the fridge and can even be used in place of sour cream on tacos and the like.
- Get your starter. I began with a store-bought whole milk plain yogurt. Since then I have used my own yogurt as a starter each time. You will need approximately 1/2 cup per half gallon of milk.
I have seen and read several different ways to make this yogurt. Some people may have a yogurt machine. Some would use an instant pot with the yogurt setting. I don’t have those things and so I have used this method!
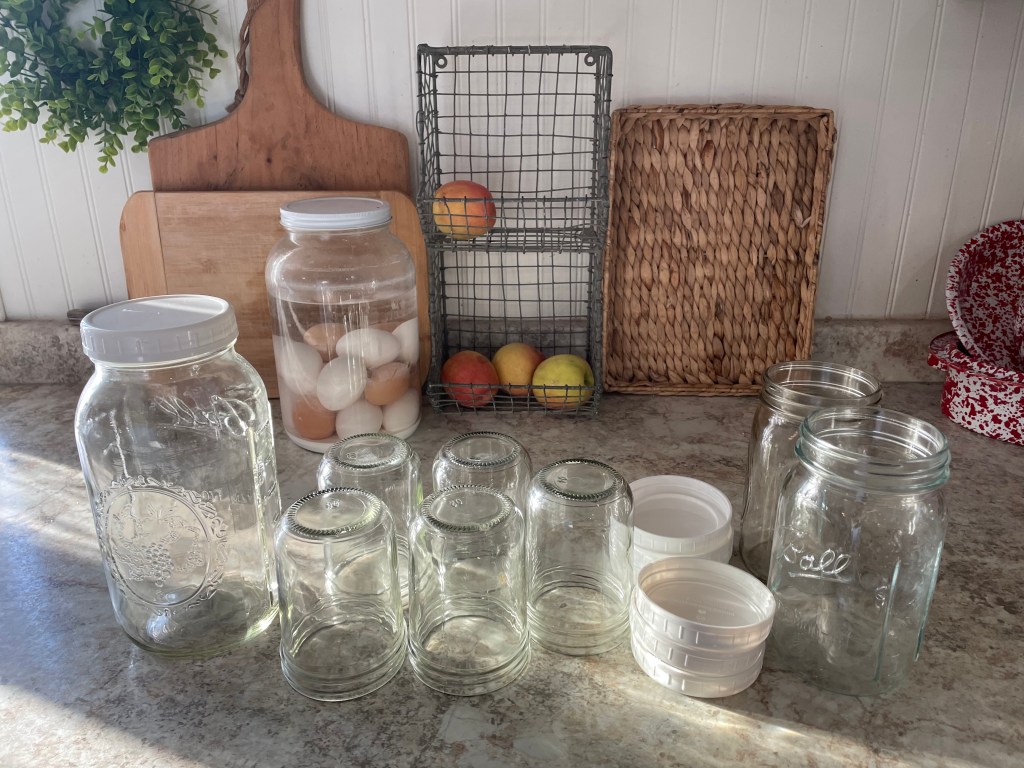
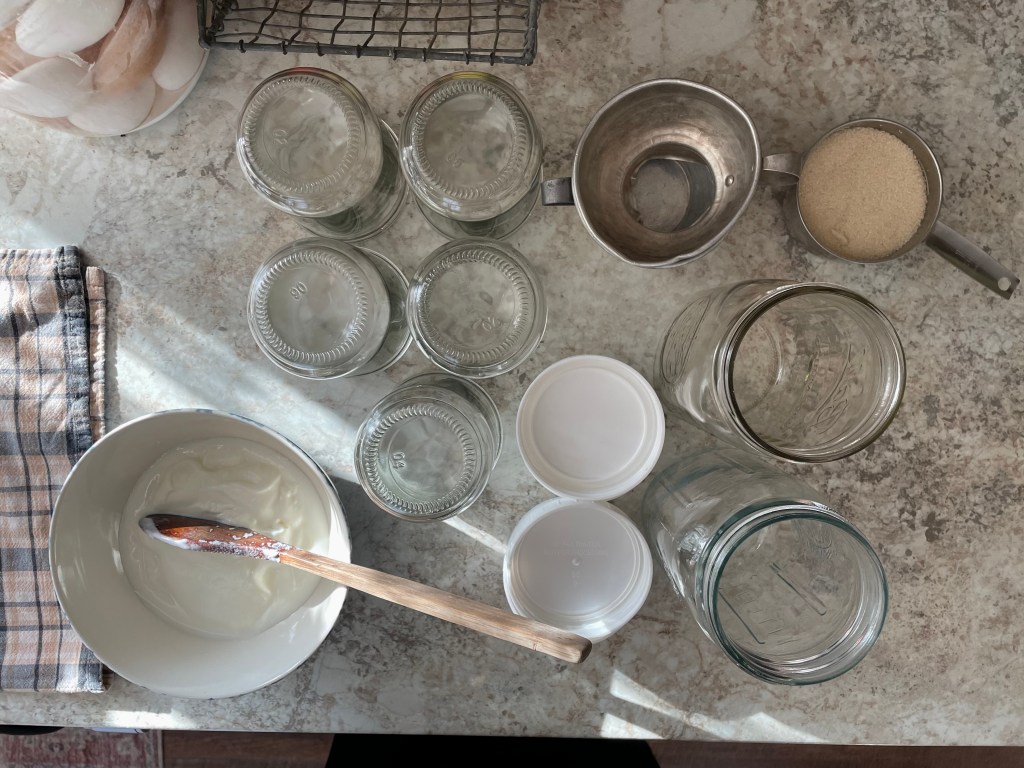
Materials you will need: wide mouth jars to fit the amount of yogurt your making (count on one more jar than necessary- ex. half gallon of yogurt, I want 5 pint jars); a half gallon jar and lid for hot water; a cooler large enough to fit said jars; a large towel to cover jars inside cooler; candy thermometer; heavy bottomed pot; sauce pot for heating water; funnel; ladle; bowl and spoon.
Food items you will need: milk; yogurt starter (see ratio above); ice cubes; hot water; optional sugar (I use cane sugar because it is unrefined).
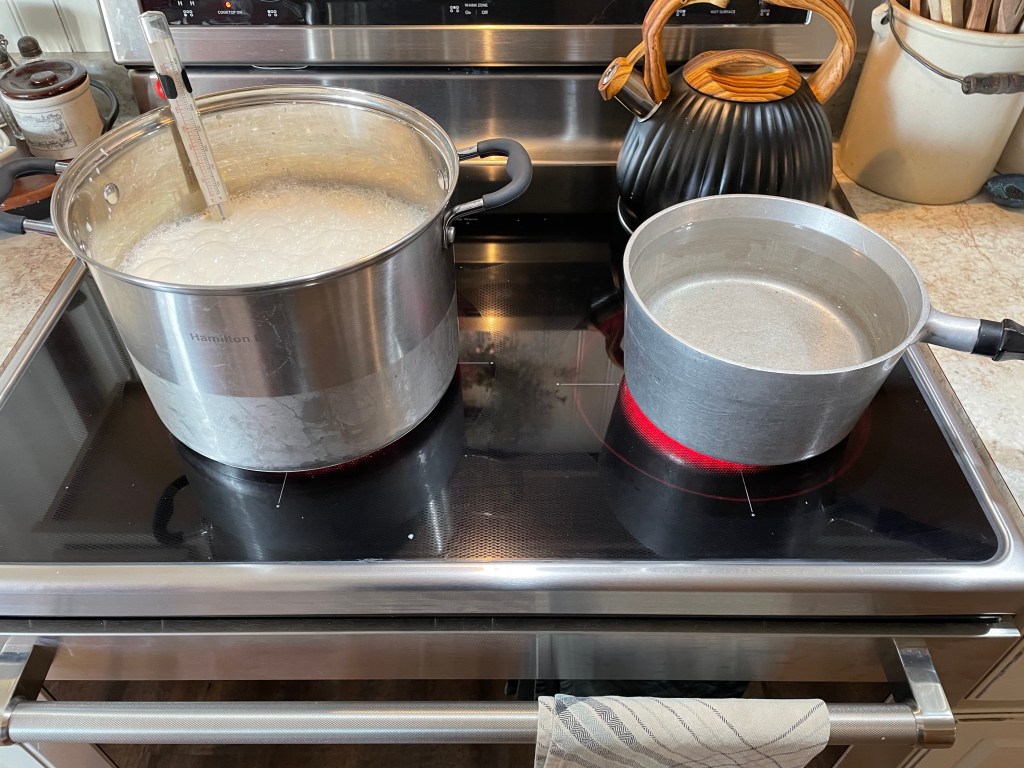
Begin with a heavy bottomed stock pot/dutch oven. Put one ice cube in the bottom to melt. This is supposed to help keep the milk from sticking to the bottom. It doesn’t always work, but I still use the ice cube. Pour your milk into the pot after the ice has melted and been swished all over the bottom of the pot. I usually make half a gallon at a time, but I have done less and more! The same amount of time is required so, if I know we will eat it, I make lots.

Secure your thermometer to the side of your pot. I use a glass candy thermometer. Plain Jane and old fashioned. So far, this has worked well! Turn the heat on medium. Here is something I have recently learned. The milk needs to heat slowly so that the properties don’t break down too quickly. You want proteins in this delicious yogurt! Heat on medium! Trust me.
You want the thermometer to reach 195* F. Some recipes say between 175-180*, but I have found that a bit higher temp allows more proteins into the yogurt, making for a thicker, creamier end result. You will stir 1-2 times throughout so that it doesn’t burn.
While the milk is heating, get a pot or kettle of hot water going- about half a gallon. Prepare your glass jars also. Have plastic lids if available, but metal work fine as well. **I would invest in some wide mouth jars with plastic lids if you are planning to do much fermenting or making fridge items at home. They sure come in handy! I do not recommend plastic containers for hot liquids!
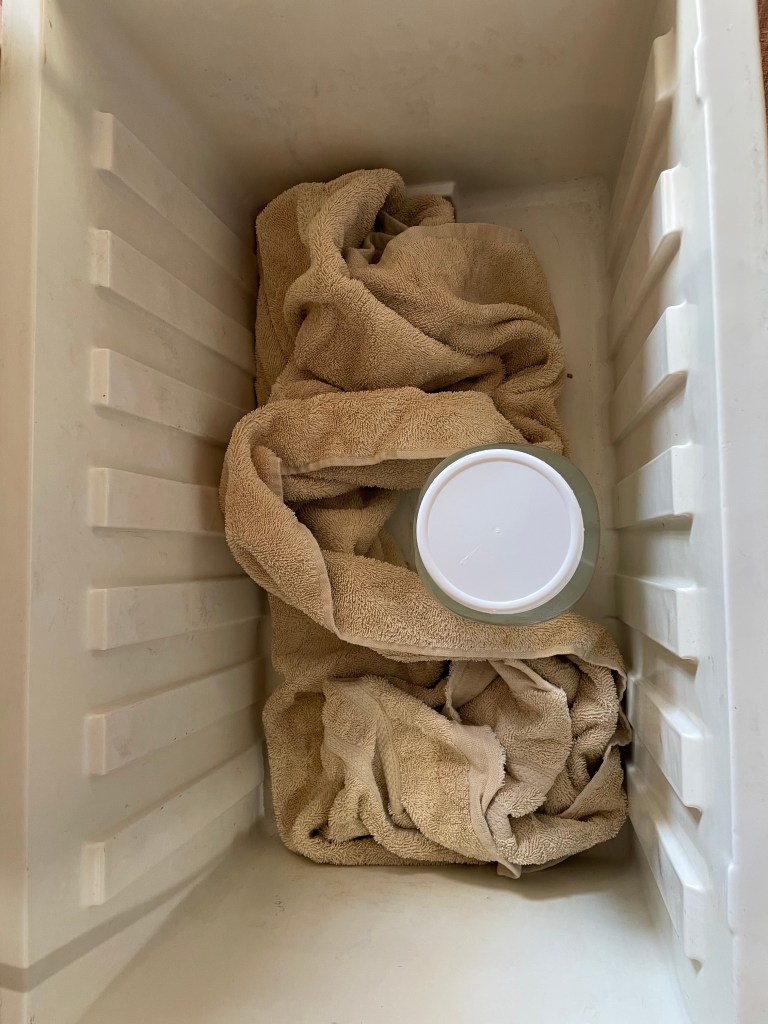
Once the water is at a boil, pour it into the half gallon jar, put lid on, and place inside cooler with top closed. This will begin holding your heat in.
Prepare your jars and yogurt starter: in a small bowl, put the desired amount of yogurt starter into the bowl and set aside.
Clean out one side of your sink and put lots of ice and water, making an ice water bath about half the depth of your pot.
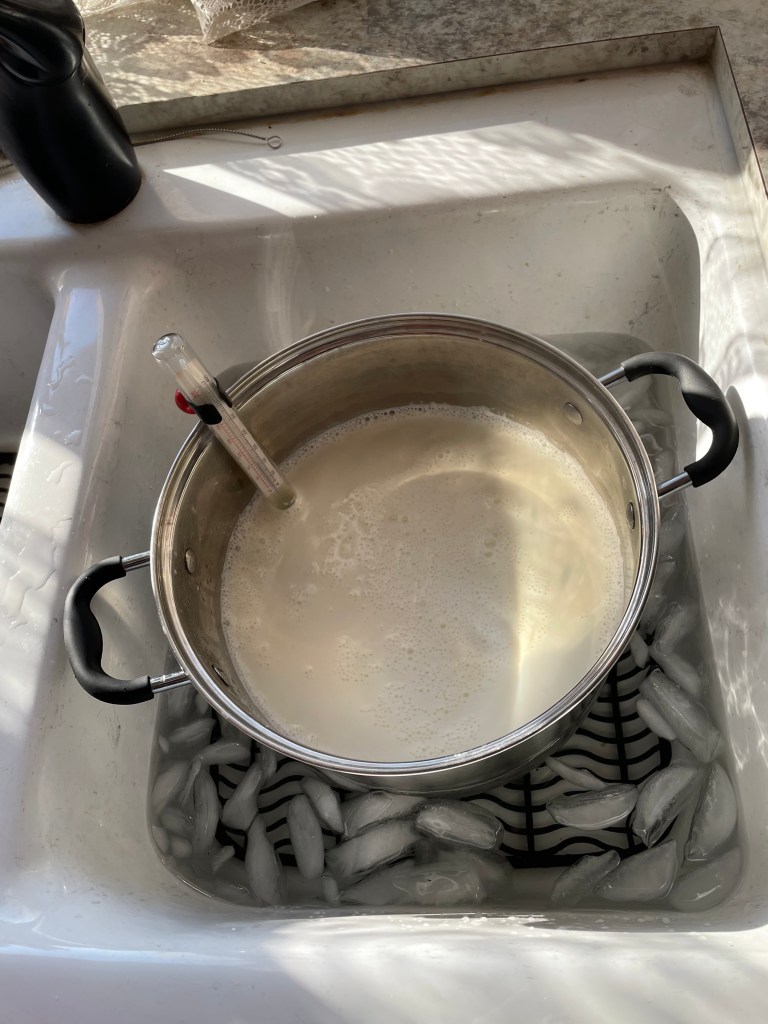
When the milk gets to approximately 195*, take it off of the heat and place in the ice bath. You want the milk to cool to 110-115*F. Once it has reached this temperature, take the pot out of the sink and place on a towel next to your jars. Ladle about 1 cup of the hot milk into the bowl with the yogurt starter and stir. Once this is mixed well, pour the contents into the pot of milk and stir to incorporate.
IF you are adding sugar: ladle one jar of yogurt without sugar to use as a future starter. Then, stir in the desired amount of sugar (3/4 cup per half gallon) into the remaining yogurt until dissolved.
Ladle the warm mixture into your clean jars and place lids on. Put the jars into the cooler next to the hot water and cover with the large towel. Close the lid.
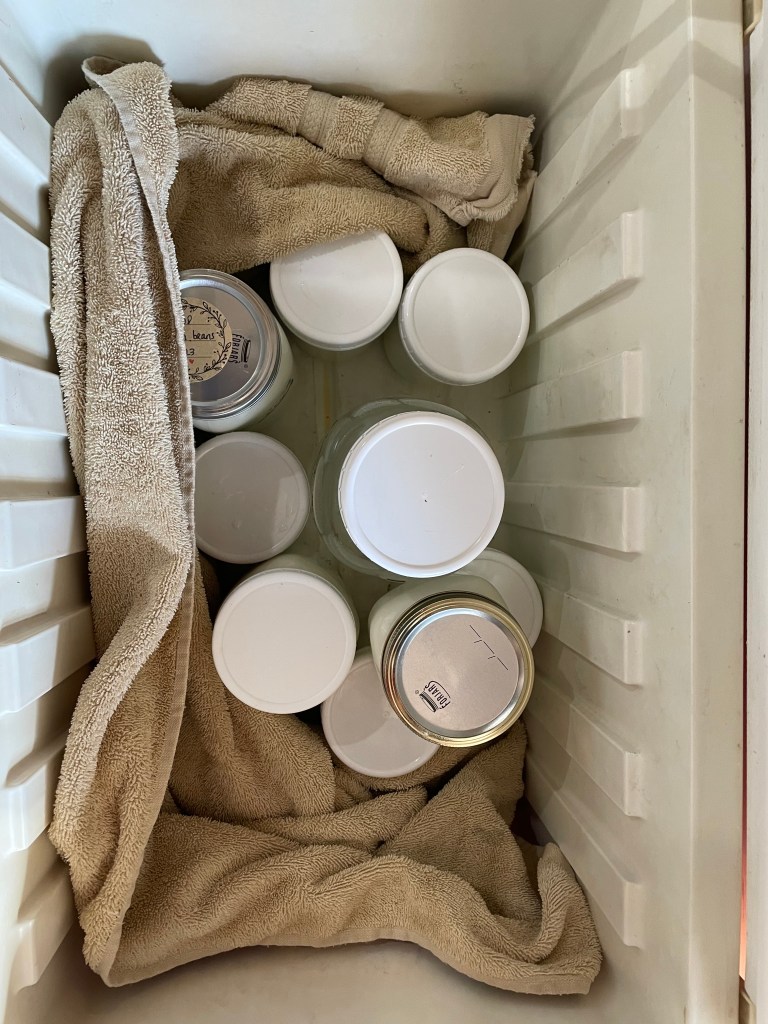
Let this incubate for 9-24 hours. The longer it incubates, the more sour it will taste. I often make in the morning and take out the following morning.
Once you’ve reached your desired incubation time, place yogurt jars into the fridge. **Be sure to mark the plain yogurt so that you can use it for your starter the next time you make a batch.
If you fear your yogurt may soon go bad and you can’t make a fresh batch, freeze a small amount for your next batch, up to 3 weeks. Be sure to thaw it well before making new yogurt.
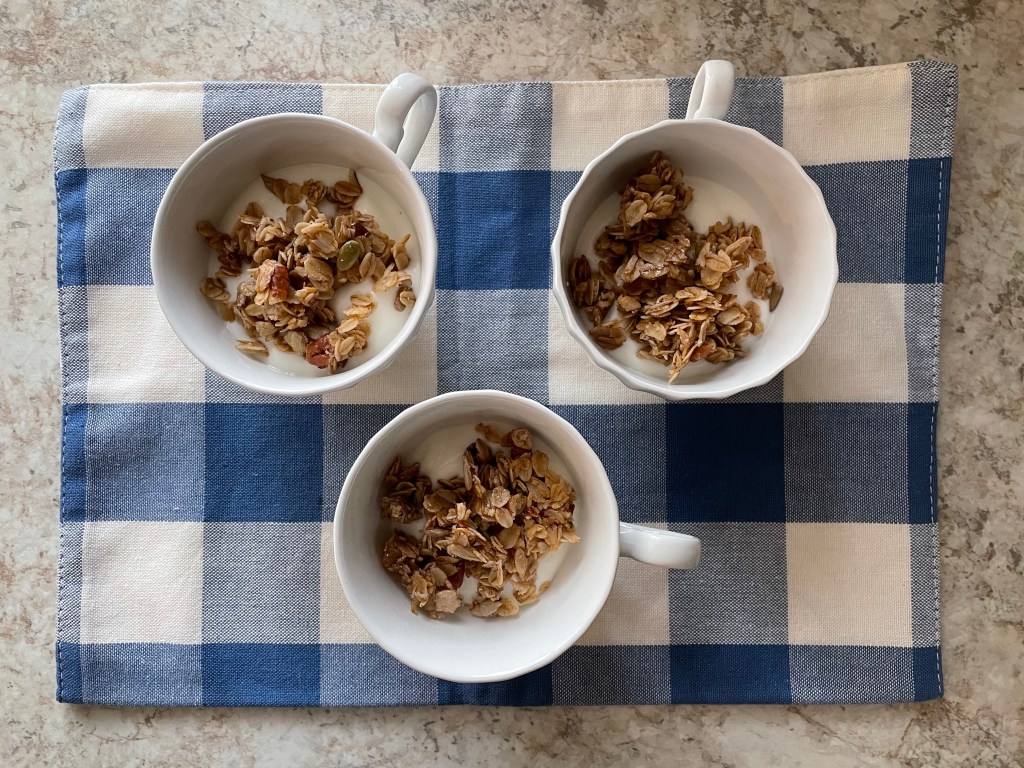
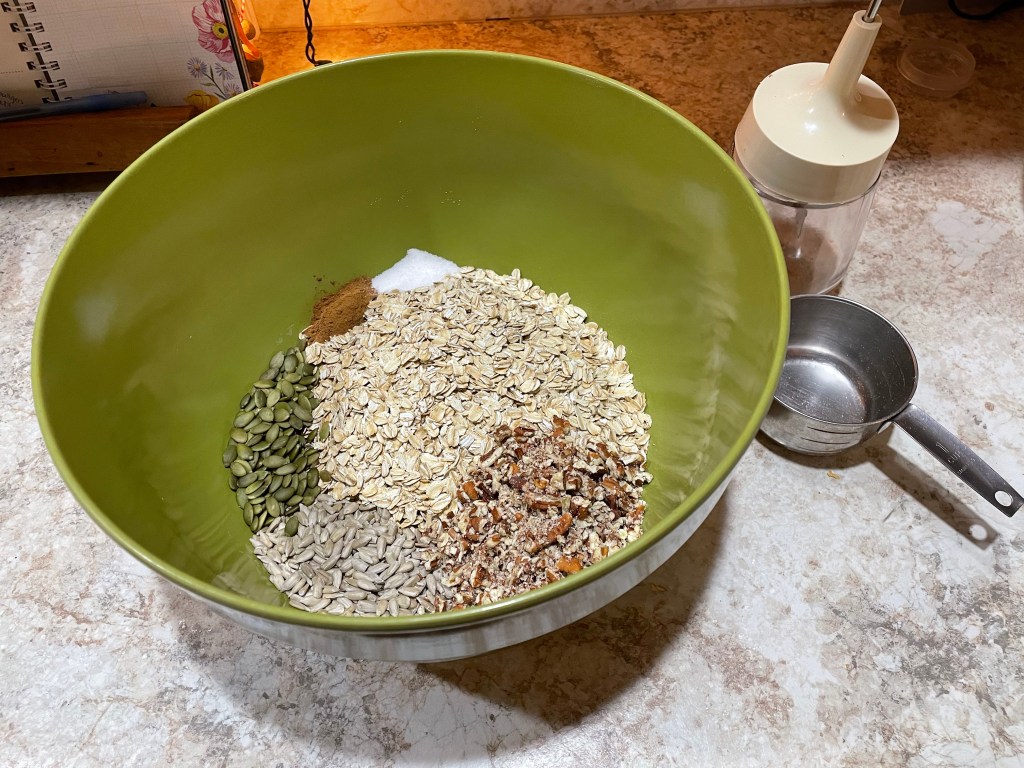
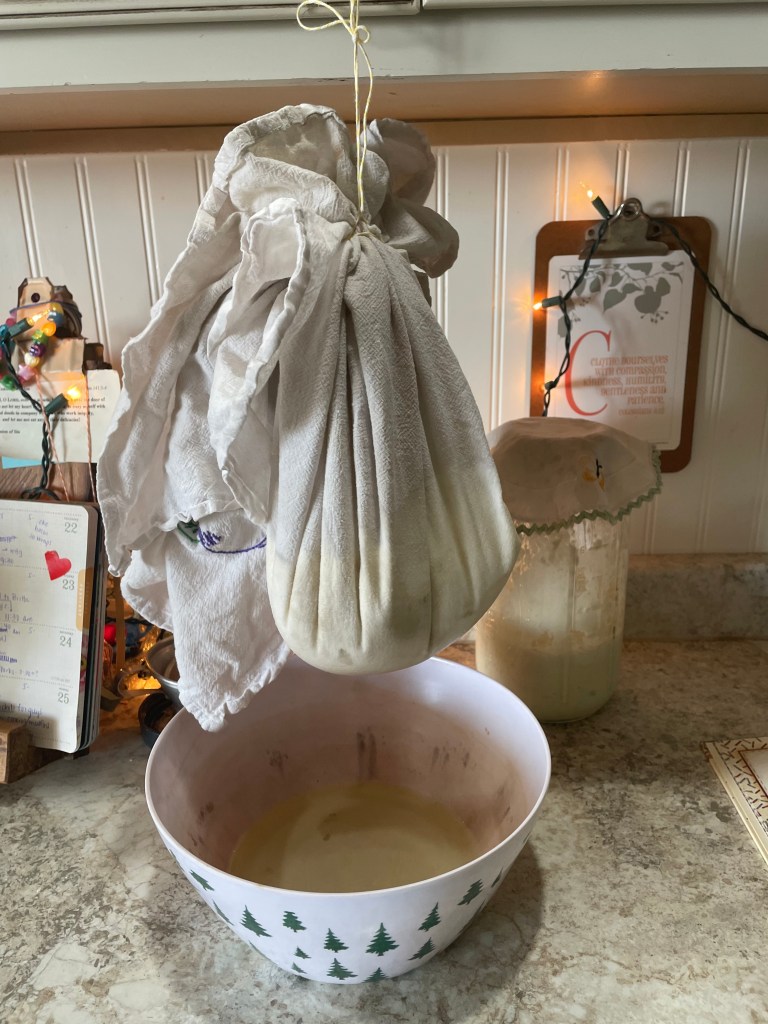
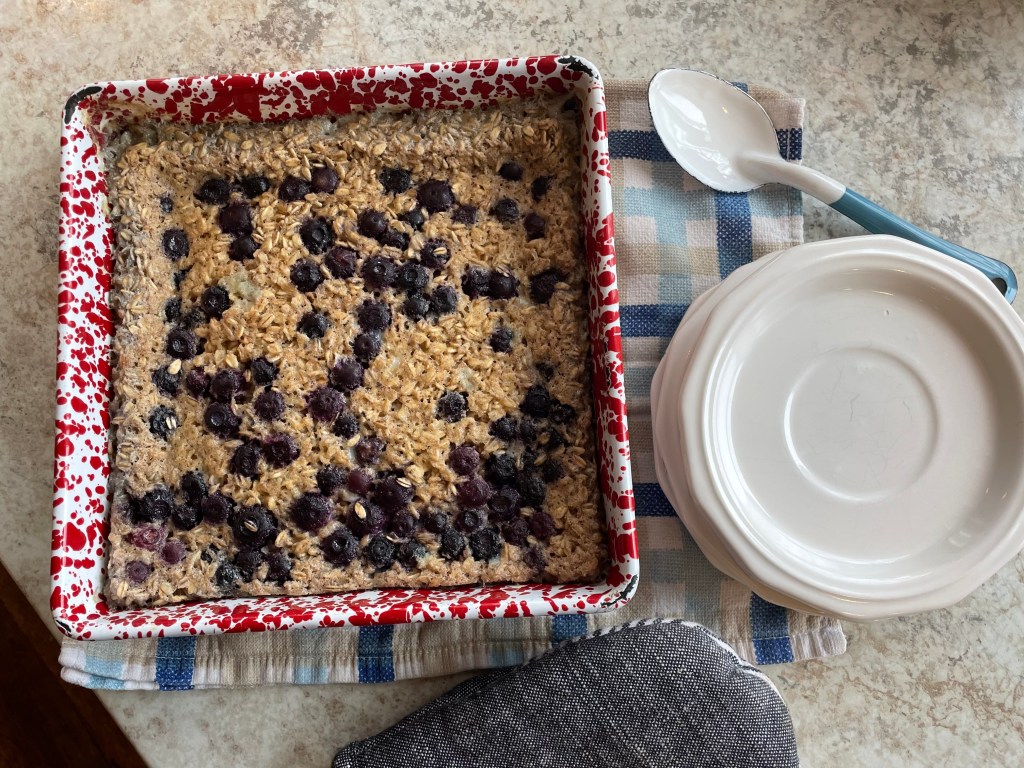
Now to enjoy it! Eat with some fresh granola (that can be homemade also- see photo above!); make a parfait; throw into a smoothie; use plain yogurt as sour cream on tacos; make a simple yogurt cheese (see photo below) by straining through cheese cloth for 4-12 hours (add a pinch of salt!) and use on wraps and gyros… the possibilities are endless! This basic food is an amazing way to have ferments in your diet, building that gut health. Yum!
Does this process make sense? Does it seem doable? I hope you can get your own yogurt going this week! Let me know. 🙂


Leave a reply to thebeautifulmountain Cancel reply