
One of my favorite things: to get my hands into the soil. That is amplified in winter when everything is frozen or icy. So, seed starting is such a joy! The kids have helped in the past, but I often so this part alone… for many reasons, not the least of which is counting seeds!
This year I thought I would walk you through using soil blocks versus containers. I do use both, but I have shown containers in the past.
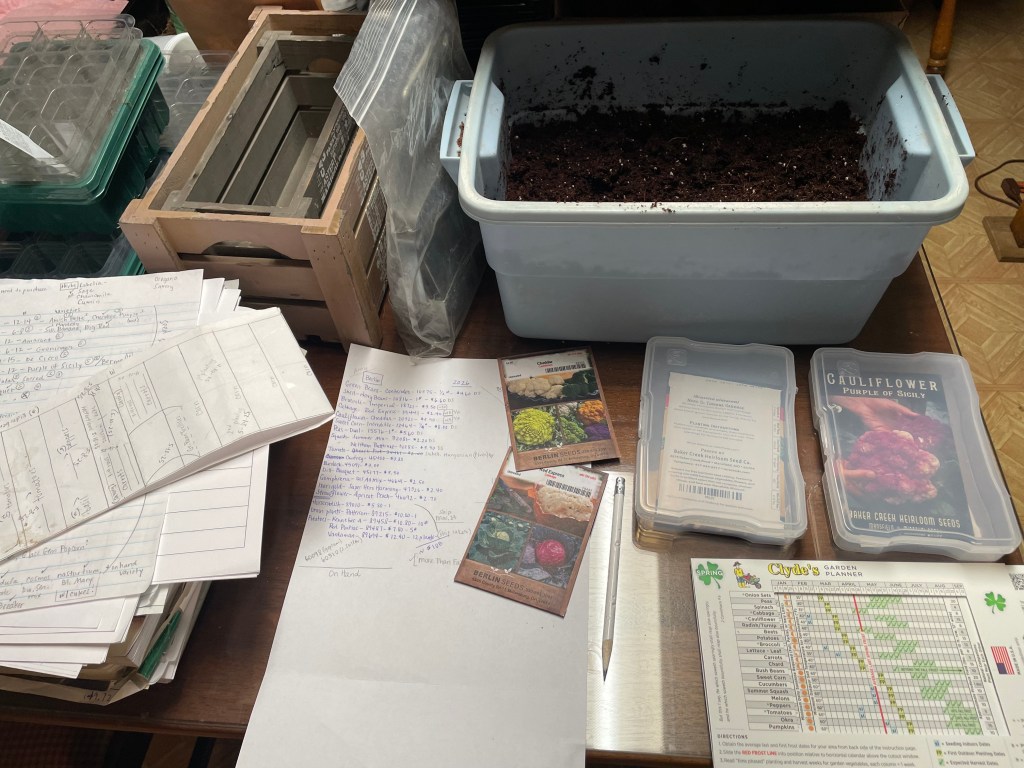
The Soil Starter
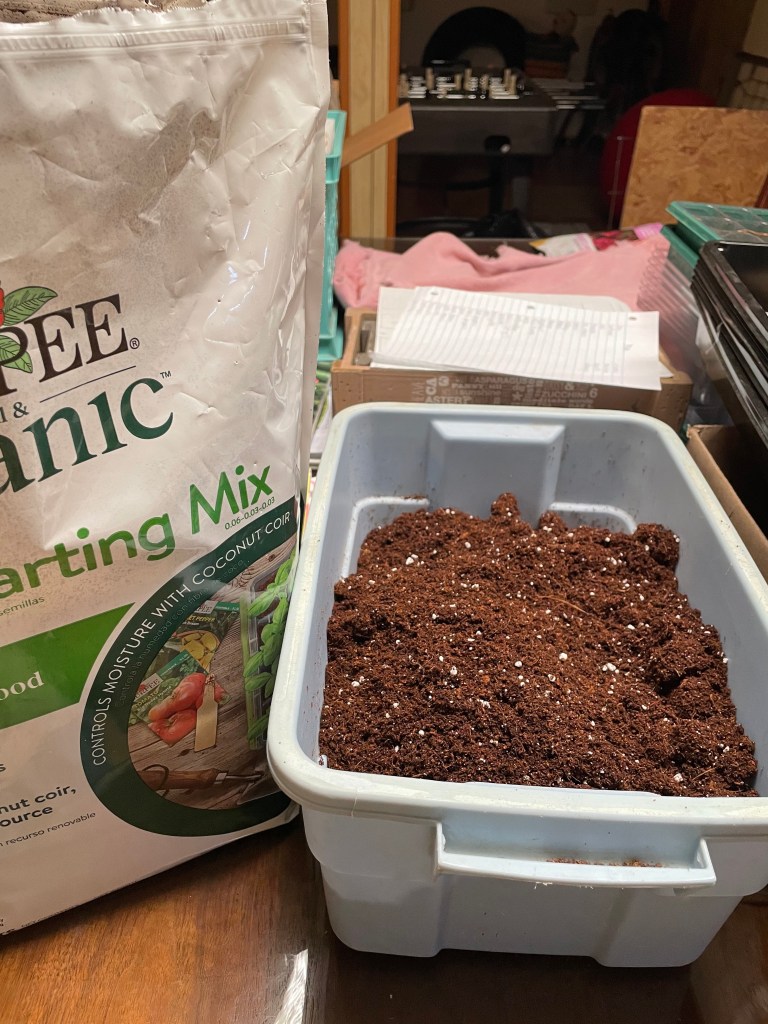
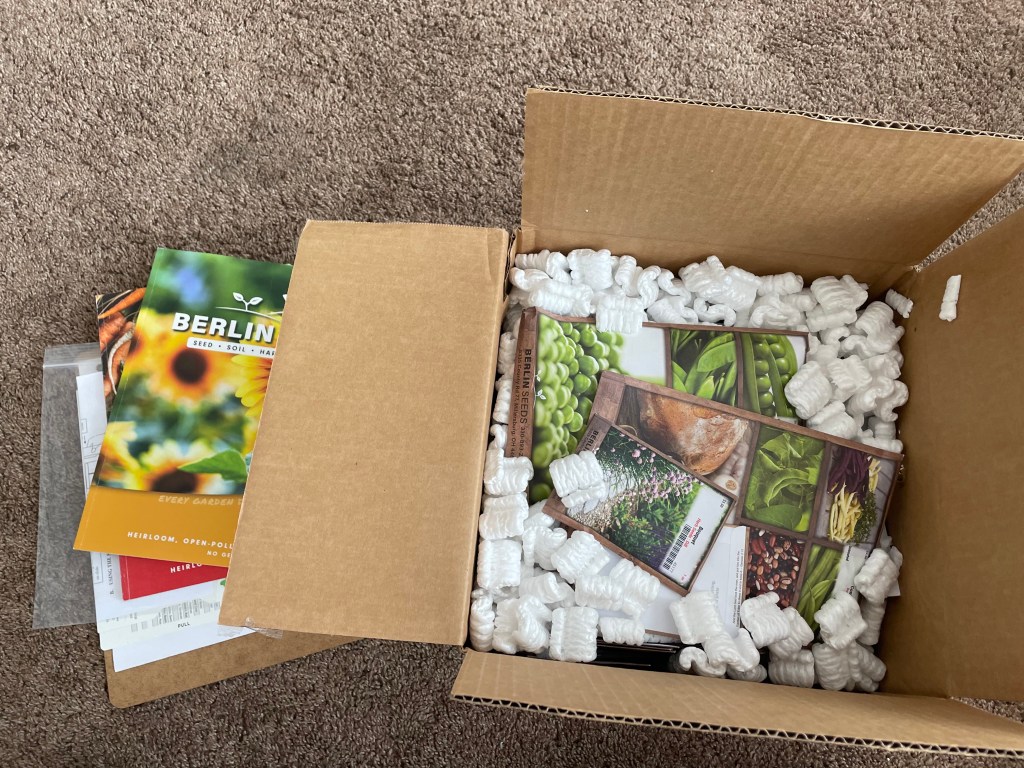
There are differing opinions on seed starting; from the soil to use, to grow light etiquette. I have used different types of soils, and I am sure some are superior. However, where I live, it isn’t easy to find soil in February, and I do not start enough seeds to justify making my own seed starting mix. This year, I had a little of the hard block that I reconstituted last year left over. I added this to the above bag from Walmart.
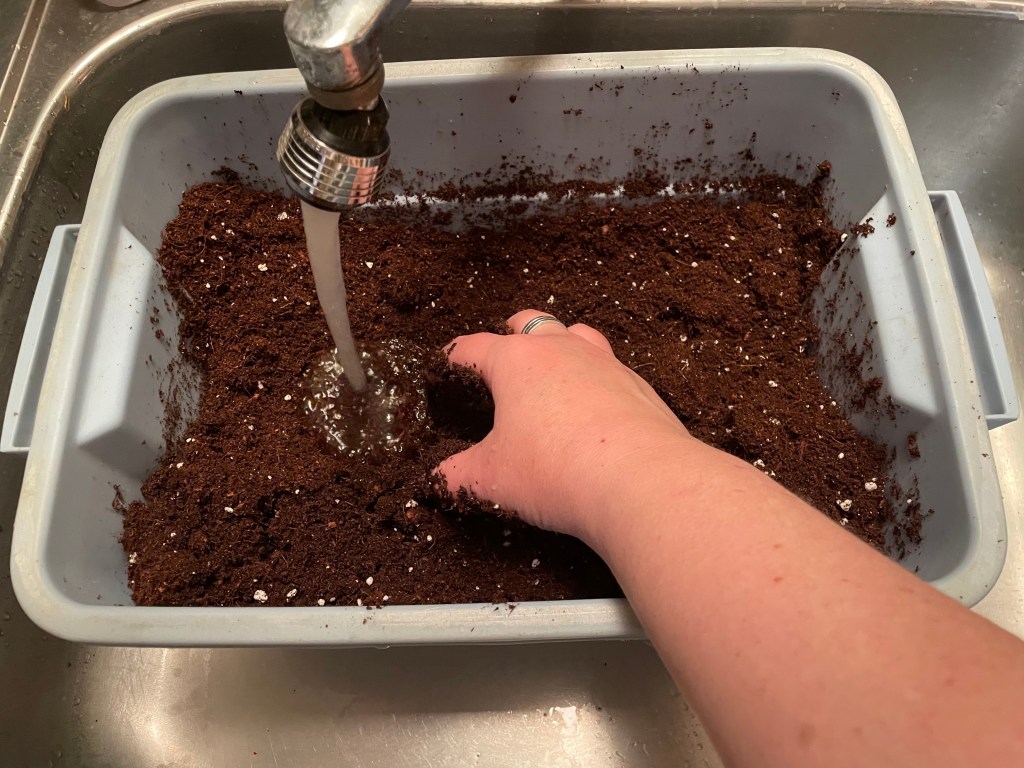
Add Water
When using a soil blocker, the soil has to be very wet. It isn’t sitting in puddles, but you should be able to squeeze a bit of water from the soil. I have no formula for this mixture as every soil is different. But the rule of thumb is you can always add more water. Meaning: don’t drown it; test and add as needed. Once you’ve added the desired amount of water, allow it to sit for 5-10 minutes. This helps the soil absorb as much water as it can.
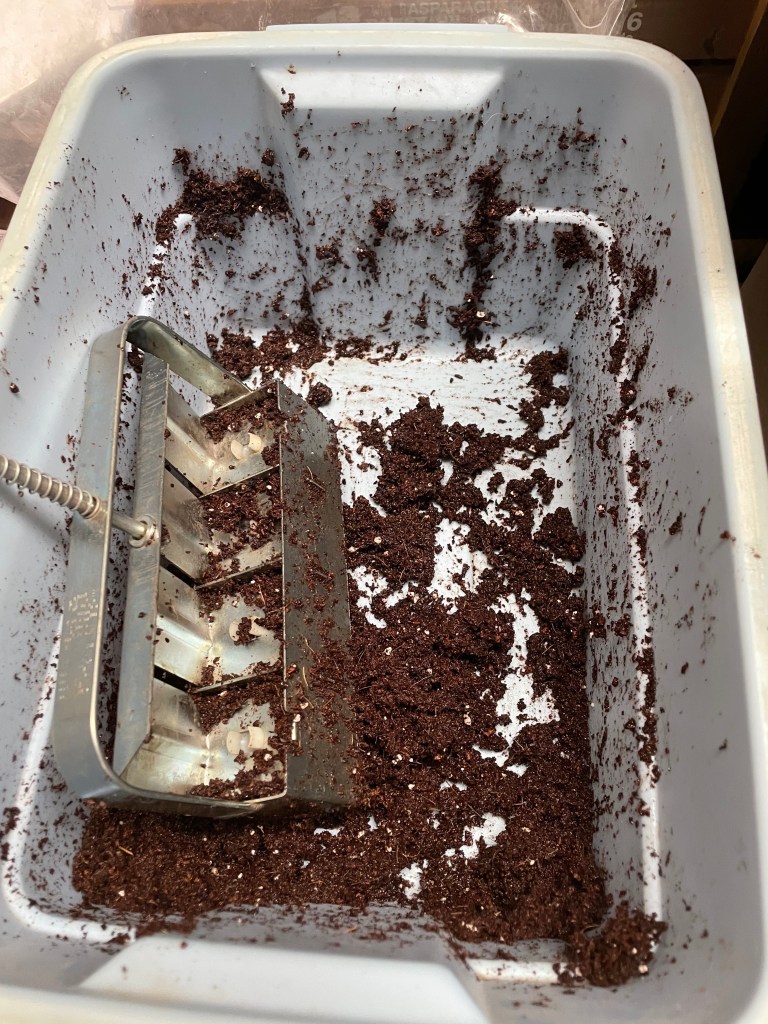
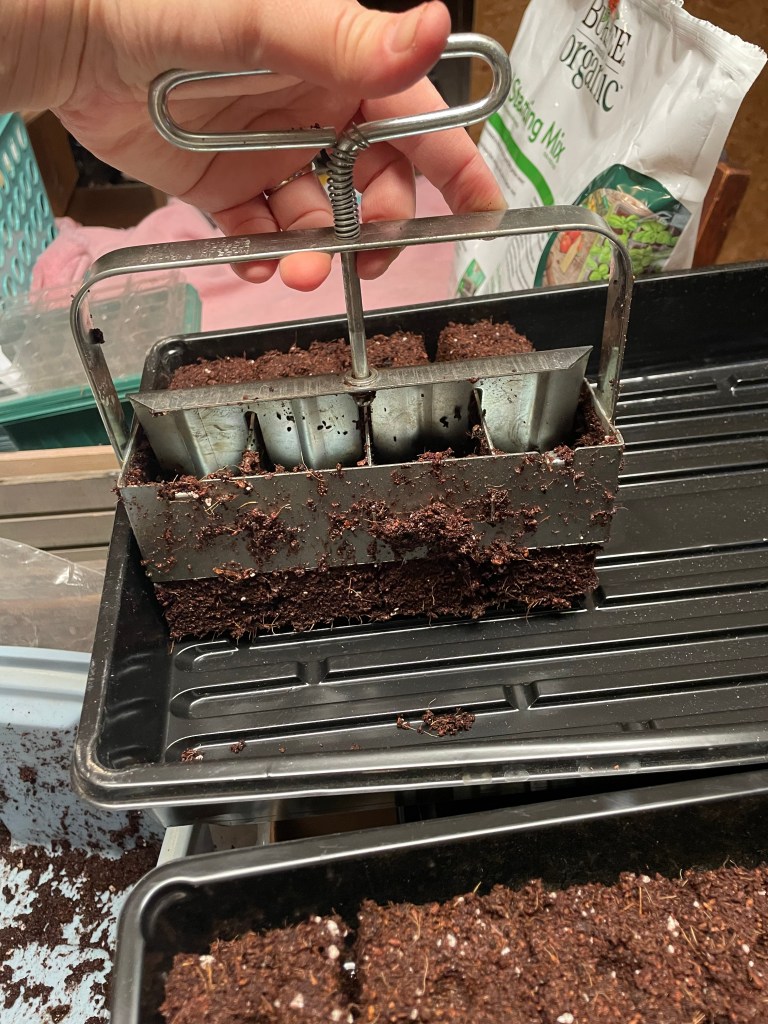
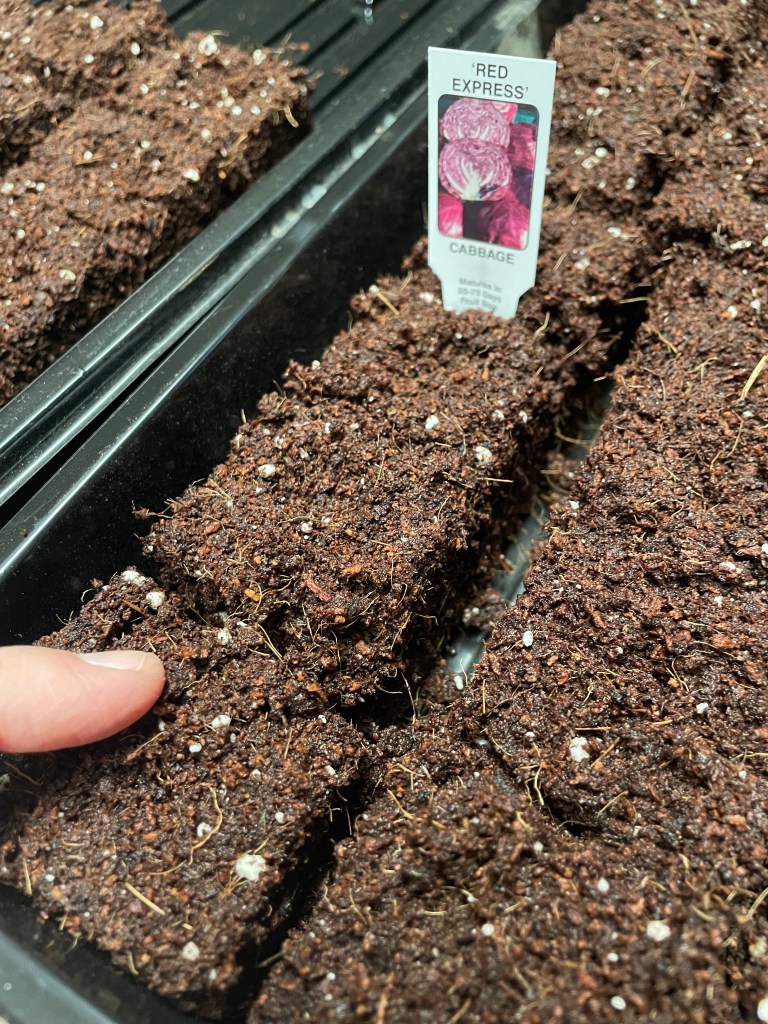
Soil Blocking
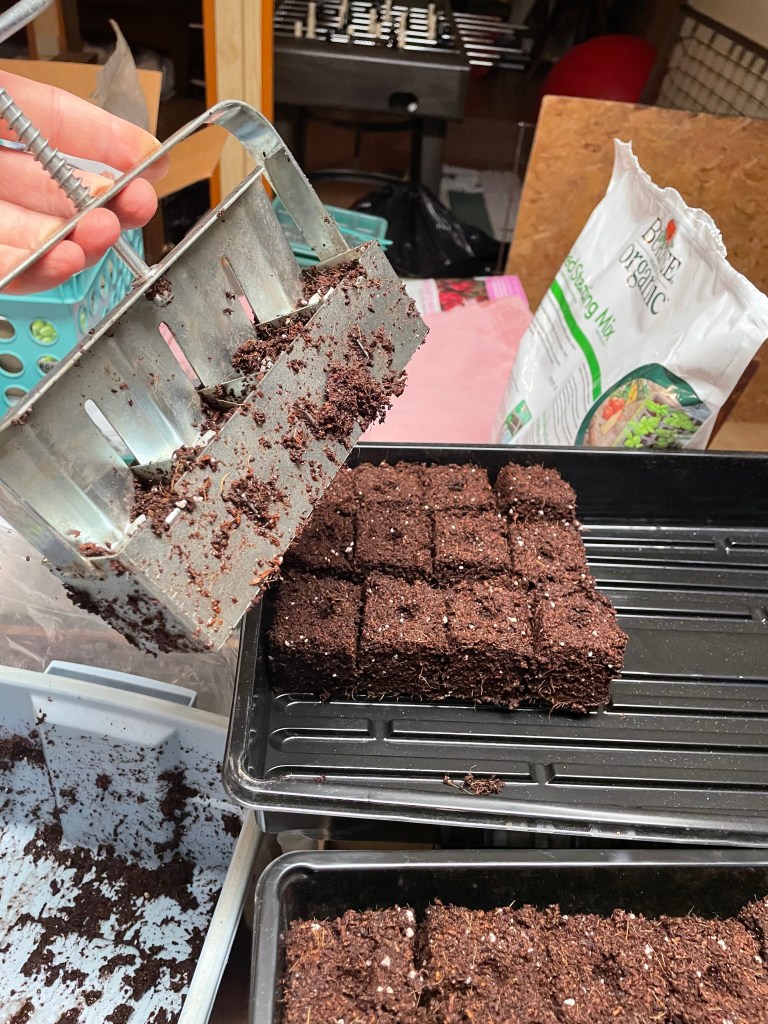
I received my soil blocker as a gift. I am not sure what brand it is. In general, this system works really well. But, certain veggies I have grown need to be repotted from these 2” cube blocks into something larger (tomatoes and peppers especially). The basic method is to squash your soil blocker down into the container of wet soil and press. Once you’ve gotten as much soil in as you can that way, turn the blocker sideways and fill with your hands by pressing as much soil into each block as possible. Wipe away the excess at the bottom of each block. Now, just hold the blocker where you’d like your blocks to set and squeeze. You want your blocks compact.
*Note: you want to wash your trays between uses to eliminate any fungal issues etc. These two trays had never been used.
Each block has a small divot where you will place your seed. For this size tray, I like to fill until the final row/column (however you are viewing the tray) so that I can easily pour water into the grooves for bottom watering.
Note: about 4 rows of these 2″ blocks fit into the trays going width-wise.
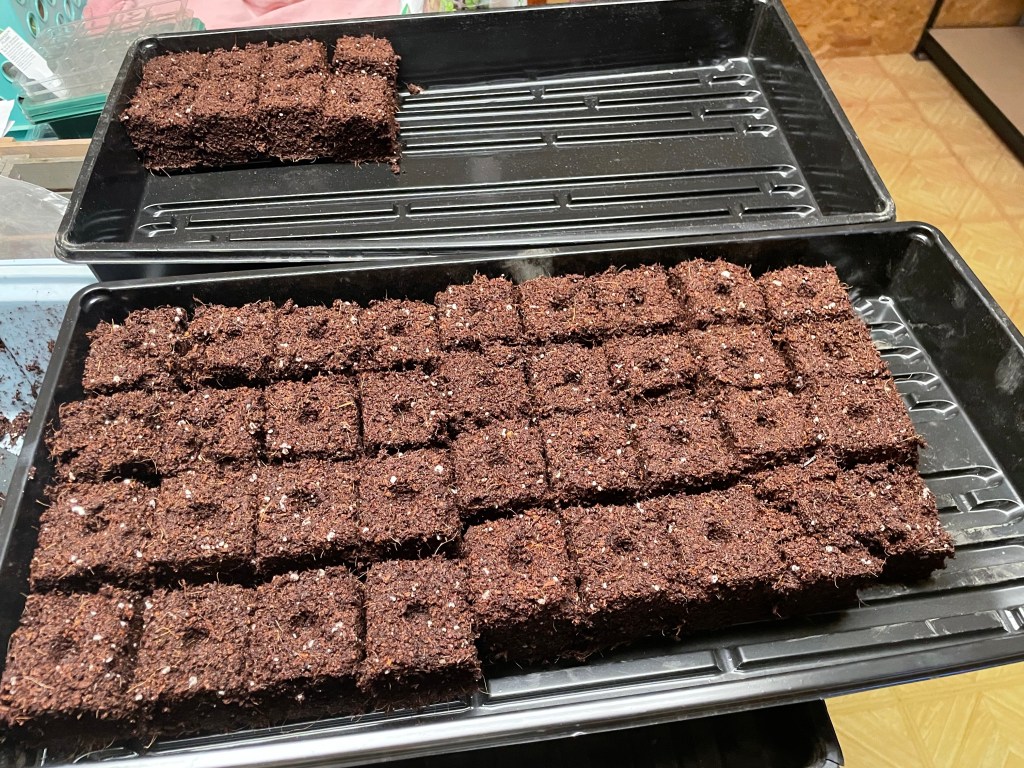
Here is a full tray as well as one I am currently filling. You see the grooves where the water will go to the bottom of each cube. In this way, we don’t disturb the plants as they grow or invite fungus etc.
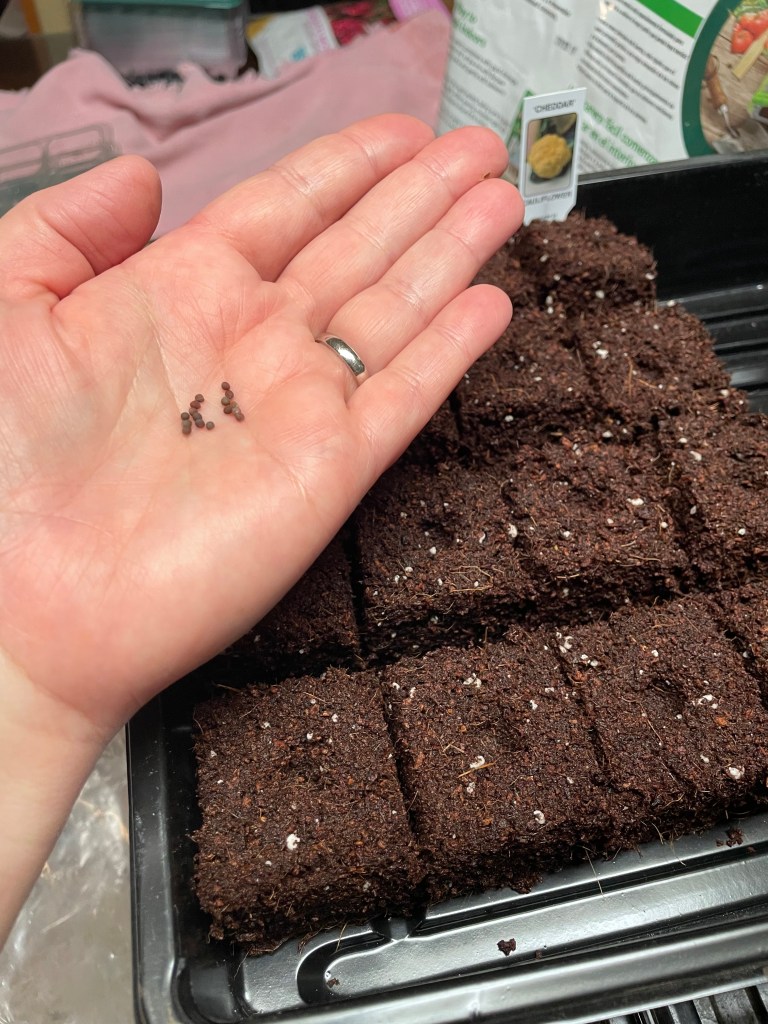
Planting
Now, we can plant! I begin cabbage and cauliflower very first (unless I am starting onions from seed- which I am not this spring). Each seed is tiny and the brassica family seeds all look exactly alike. Ha! So, this is where I make sure I am careful when planting. As I have mentioned in previous posts, often there are some veggies that are poor germinators. Cabbage can be one, especially if your seeds are old. However, I am trying one seed per block this spring to see how we get along. Once your seed is in the block (be methodical here so you don’t lose track- these seeds blend right in with your soil), slightly cover the seed by filling the divot in- just rub the soil over the divot.
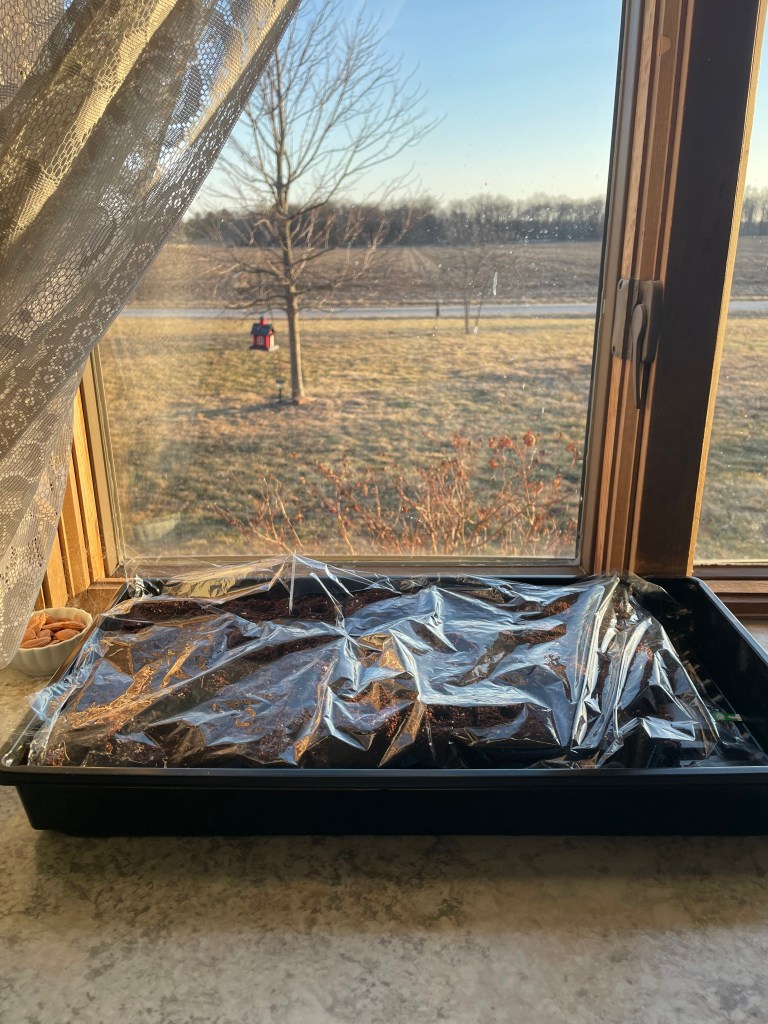
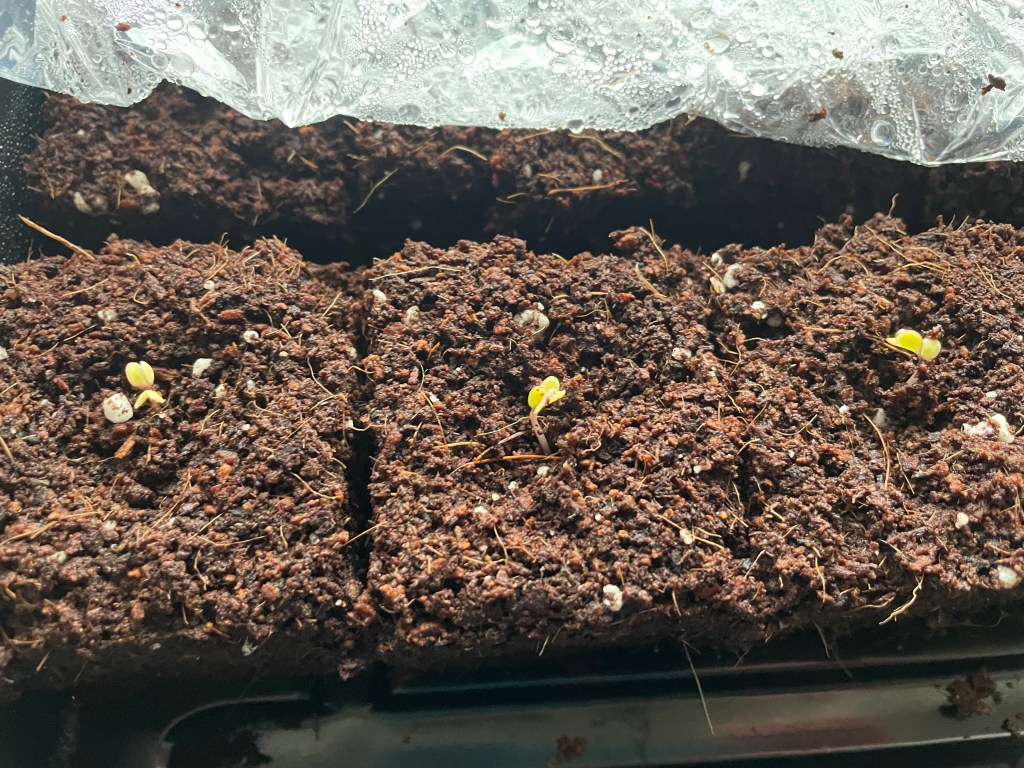
Sprouting
Finally, you want to cover your seed trays. Because they are soaked, there is no need to water yet. Cover with plastic wrap to keep in the moisture and encourage a warm seed bed. Don’t worry, this plastic won’t be in contact with your seedlings long. Place the trays in a warm window with plenty of sunlight. As soon as even ONE seedling sprouts, take off your plastic wrap and put the tray under grow lights. This week, I planted on Friday and got my first sprouts on Tuesday evening. So, first thing Wednesday morning, my son and I took the trays downstairs and placed them under grow lights on our little seedling set up. You want your lights as close to the plants as possible; you will raise the lights as the plants grow. If the lights are too high, you will end up with leggy plants who are seeking light that’s too far away.
Tell me your favorite seed starting method! Haven’t ever tried? Well, feel free to jump in NOW. We are Zone 5 with a last frost date around April 21st. Next up: broccoli.


Leave a comment