
I am continuing to enjoy this learning experience that is cheesemaking! I have tried several simple varieties and most have set and been delish! But, *note to self* make sure your ingredients are not expired! Wink. Wink. That’s for another post!

Here is my rendition of the traditional cheese Queso Blanco. It is super simple and only requires two ingredients!
You will need:
- a gallon of milk (I use raw milk, skimming the cream first) but store bought milk works fine too- do not use ultra-pasteurized!
- 1/2 cup of vinegar (I use plain white vinegar, but any kind should work)
- Supplies: large stock pot, thermometer, strainer, large bowl, cheesecloth, slotted spoon
Instructions:
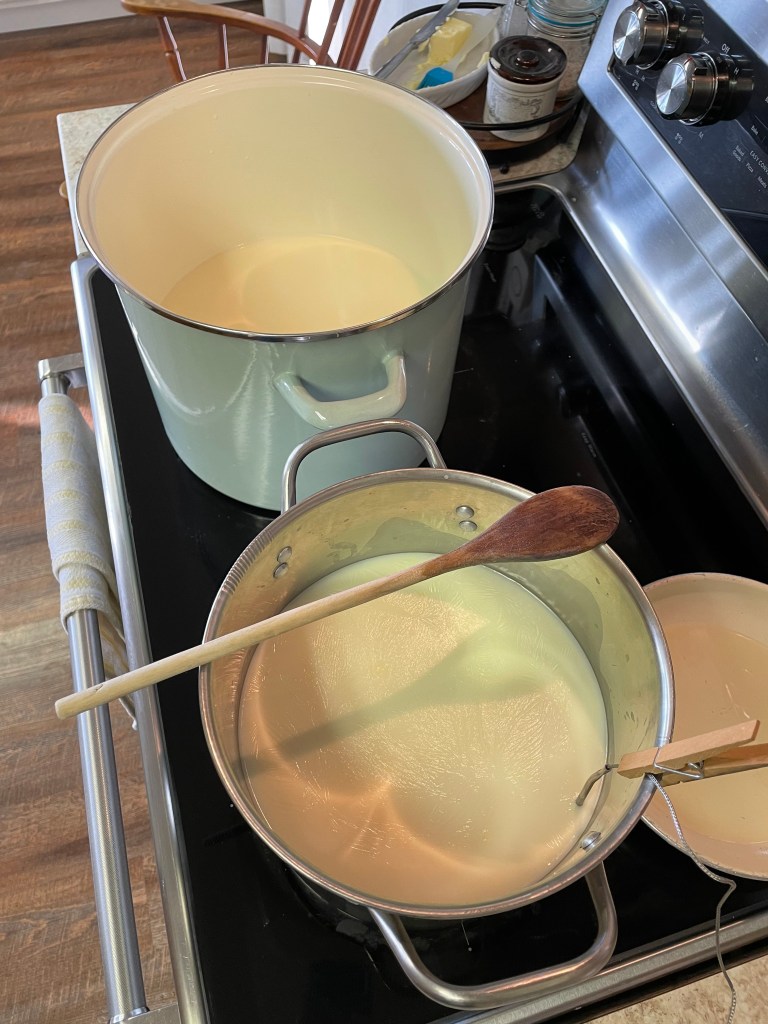
- place the milk into a stock pot on stove top at medium heat with thermometer in
- if your thermometer has a temperature register timer, set it at 180* F (I’ve found that raw milk needed to be 185* in most cases to curd correctly) otherwise watch it carefully, stirring once or twice
- (this will take 20-30 min to reach the correct temp- you want to heat slowly to reserve as much protein from the milk as possible)
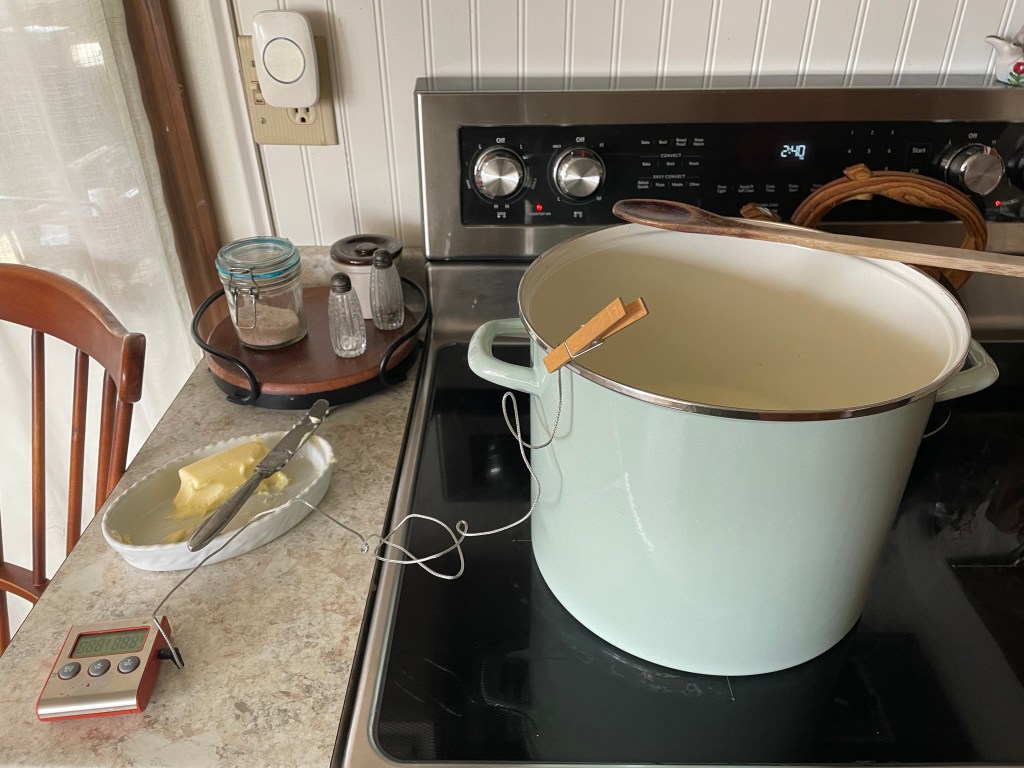
- once 180* is reached, take pot off of heat and add the vinegar, pouring slowly over the top of the milk
- stir 3 times and let sit for 10 minutes, untouched and uncovered
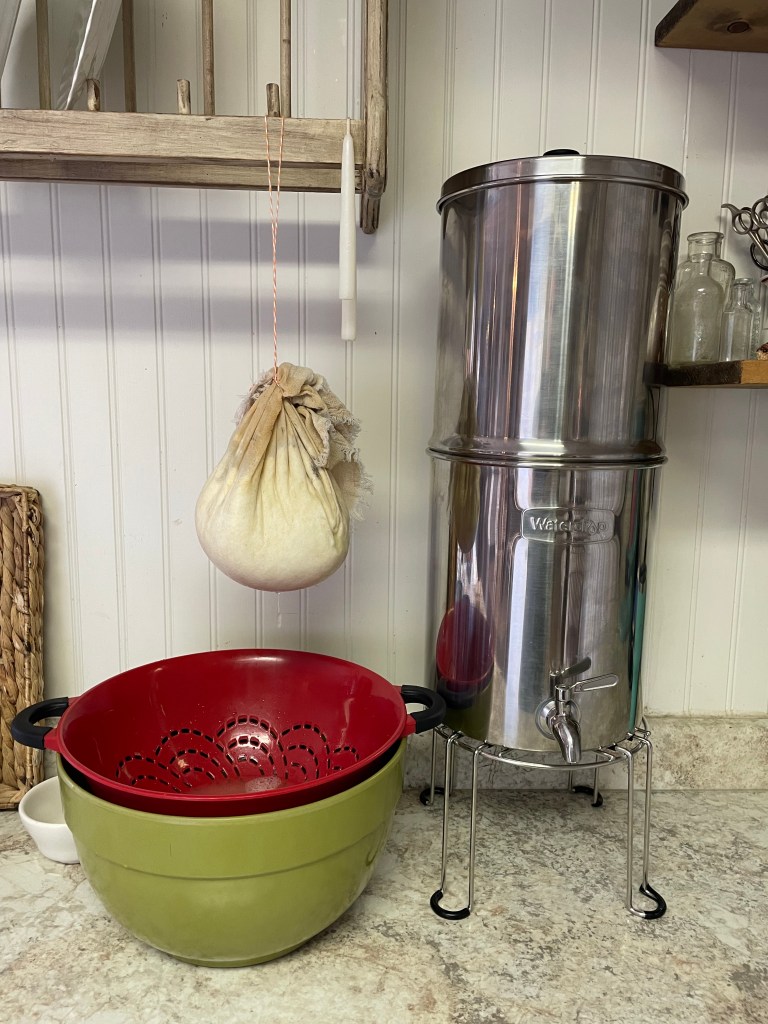
- meanwhile, put clean cheesecloth into the strainer over a large bowl
- after 10 min, gently lift the curds into the strainer using the slotted spoon- you can eventually pour the whey through the strainer, but you want to lift large curds out first
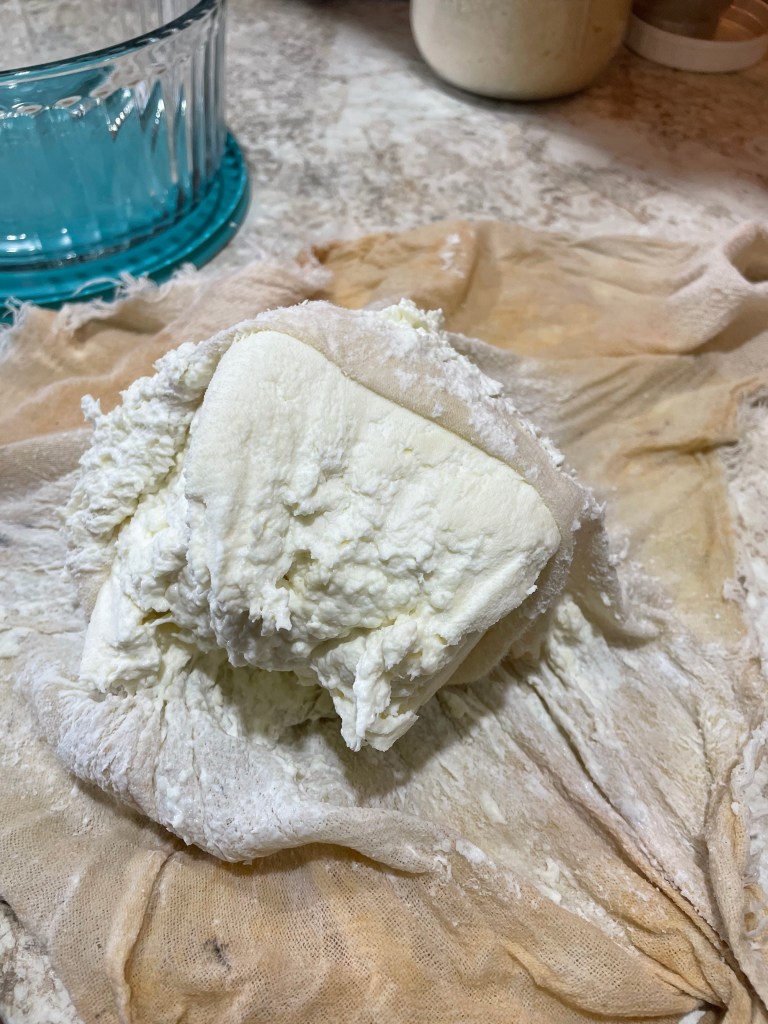
- let drain for about ten minutes and the gather the edges to tie into a bunch (see photo)
- let cheese drain for approximately 4 hours
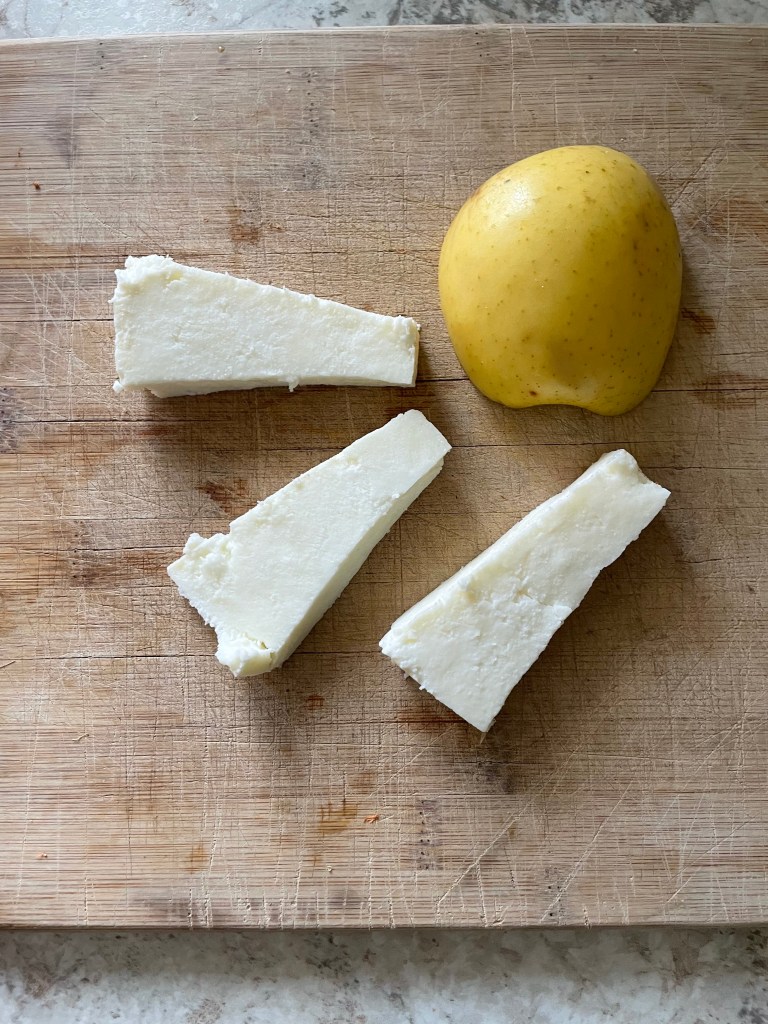
- after this time, you can untie cheese and place into a glass reusable container with lid, adding salt to the outside
- store in the fridge for close to a week (but it won’t last that long if your family likes it like mine does!)
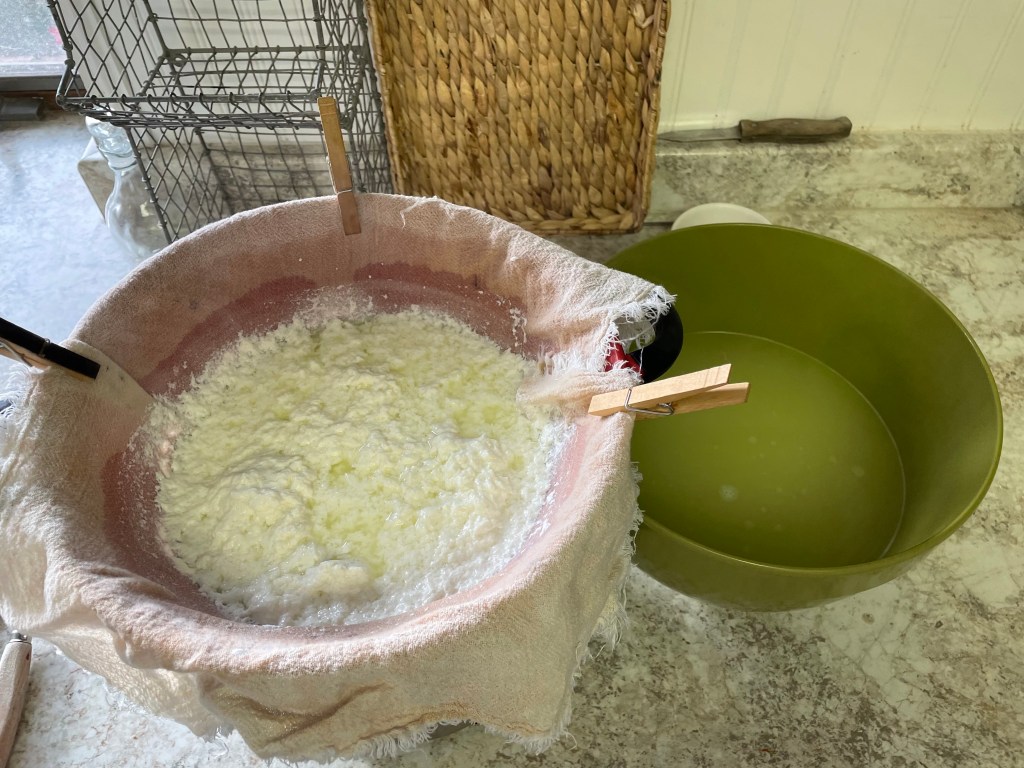
*Draining curds and reserved whey! Use this whey in many ways, including as an alternative to buttermilk in baking recipes or poured onto your berry bushes that like acidic soil. Can also be added to dishes like mac n’ cheese or creamy soups!
*This is the draining cheese tied up in a gathered bundle.
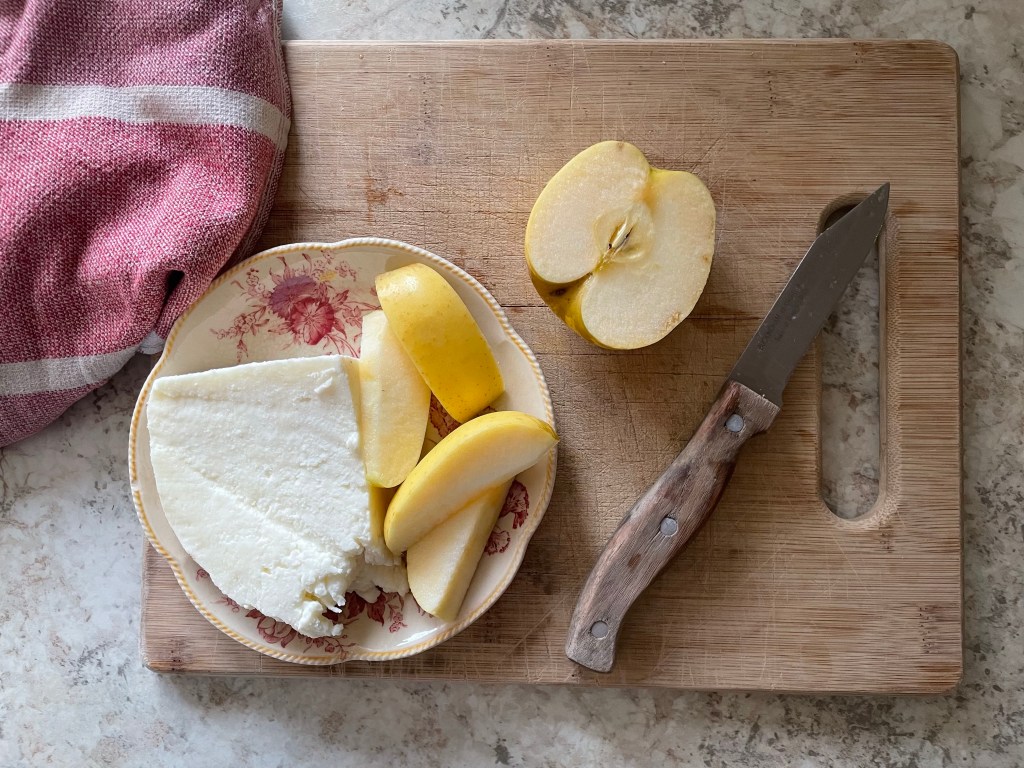
*Here is our delicious cheese! Once it is cold, you can slice it into lovely chunks to eat with apples and crackers. You can also crumble it onto salads and onto pizza. We like it on chicken bacon wraps.
Now, you try it!


Leave a comment